Shaders are a powerful tool that can transform the visual aesthetics of your Retroarch gaming experience. In this comprehensive guide, we will delve into the world of shaders, learn how to use them on Retroarch, compare different shader options, and explore specific shaders such as the CRT shader. Whether you're seeking to add nostalgia-inducing effects or enhance the graphics of your favorite retro games, this article will equip you with the knowledge needed to unlock the full potential of shaders on Retroarch.
What are RetroArch Shaders?
Shaders are small programs that operate on the graphical data of a game in real-time. They are written in specialized shader languages, such as GLSL (OpenGL Shading Language) or Cg (C for Graphics), and are designed to modify the appearance of graphics on a per-pixel or per-vertex basis.
Differences Between Shaders
The shaders used by RetroArch can be mainly split into 3 categories: CG, GLSL and Slang/Vulkan shaders. We'll try to give you a basic understanding for each of them:
CG shaders (C for Graphics shaders) - are written in the Cg shading language. Cg was developed by NVIDIA and is widely used in older graphics applications. However, Cg shaders are less commonly used in recent versions of RetroArch. While they may still be available for use, they are not as actively maintained or recommended compared to GLSL or Slang shaders.
GLSL Shaders - GLSL shaders (OpenGL Shading Language shaders) are written in a high-level shading language designed for use with OpenGL. GLSL shaders are widely used in RetroArch and provide advanced customization and effects for improving graphics. They offer a range of possibilities for enhancing visuals, including CRT emulation, scanlines, color grading, smoothing filters, and more. GLSL shaders are compatible with OpenGL-based hardware rendering.
Slang (Vulkan) Shaders - Slang shaders are written in the Slang shading language and are specifically designed for use with the Vulkan graphics API. Vulkan is a modern, low-level graphics API that offers improved performance and flexibility. Slang shaders provide advanced visual effects and customization options similar to GLSL shaders but are optimized for Vulkan-based hardware rendering. They are generally recommended for users with Vulkan-capable devices for the best performance and compatibility.
In summary, CG shaders are less commonly used in recent versions of RetroArch, while GLSL shaders and Slang shaders are the primary shader options. GLSL shaders are used with OpenGL-based hardware rendering, while Slang shaders are designed for Vulkan-based hardware rendering. The choice between GLSL and Slang shaders depends on the capabilities of your device and the specific benefits each shader language offers for your hardware configuration.
How do Shaders work in RetroArch?
RetroArch shaders work by intercepting the rendered graphics output of a game and applying a set of operations or effects to the image. These effects can include simulating CRT monitors, adding scanlines, adjusting colors, enhancing textures, applying smoothing filters, and more. Shaders are applied to the frame buffer output, allowing for real-time manipulation of the visuals.
Understanding the Shader Pipeline
RetroArch shaders follow a pipeline that consists of various stages. The pipeline typically includes input processing, vertex processing, fragment processing, and output. Each stage performs specific operations on the graphical data to achieve the desired effect. Shaders can access and modify properties like color, brightness, contrast, depth, and texture coordinates to alter the appearance of the game's visuals.
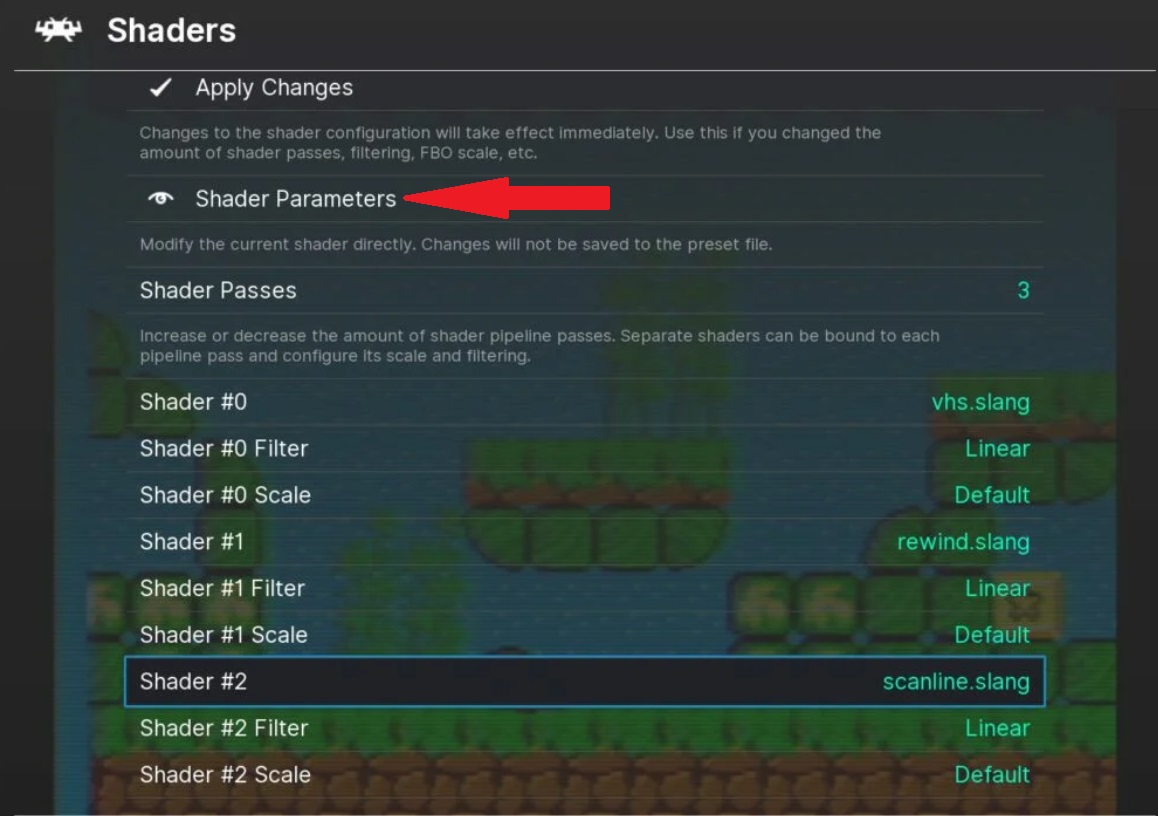
Utilizing Shader Parameters
Shaders often have adjustable parameters that allow users to fine-tune the effects. These parameters can include settings for brightness, contrast, scanline intensity, curvature, bloom, and more. RetroArch provides a user-friendly interface to adjust these parameters, giving you control over the look and feel of the game.
Using Shader Presets
RetroArch offers a wide variety of pre-configured shader presets created by the community. These presets bundle together specific shader configurations to achieve different visual styles, such as CRT emulation, pixel art enhancement, retro-themed effects, and more. Users can select and apply these presets to quickly change the visual appearance of their games.
What are RetroArch CRT Shaders?
RetroArch CRT shaders are a type of shader specifically designed to emulate the visual characteristics of Cathode Ray Tube (CRT) monitors, which were commonly used in older gaming consoles and arcade machines. These shaders aim to recreate the nostalgic look and feel of playing games on a CRT screen by simulating various CRT-related effects. Here are some common CRT shaders used in RetroArch:
Below you can find some of the most common CRT shaders for RetroArch.
CRT-Royale
CRT-Royale is a popular CRT shader in RetroArch. It emulates the visual characteristics of different types of CRT displays, including scanlines, phosphor persistence, bloom, curvature, and more. It offers extensive customization options to adjust the intensity and behavior of various CRT effects.
CRT-Pi
CRT-Pi is a lightweight CRT shader designed to replicate the look of gaming on a CRT monitor using a Raspberry Pi. It provides a simple and efficient way to add scanlines, color bleeding, and other CRT-related effects to the graphics.
CRT-Easymode
CRT-Easymode is a shader that offers a simplified approach to emulating CRT displays. It provides basic scanlines and subtle curvature effects to give a hint of the CRT look without overwhelming the visuals.
CRT-Hyllian
CRT-Hyllian is a shader with a focus on simulating phosphor persistence and other CRT effects. It offers customization options to control the intensity and behavior of scanlines, bloom, and other CRT-related parameters.
CRT-Caligari
CRT-Caligari is a shader that aims to replicate the look of older CRT monitors, including the characteristic scanlines, curvature, and phosphor glow. It provides a range of customization options to fine-tune the level of CRT emulation.
These are just a few examples of the CRT shaders available in RetroArch. Each shader offers its own unique set of features and customization options, allowing users to tailor the CRT emulation to their preferred level of authenticity and nostalgia. Experimenting with different CRT shaders can help recreate the classic gaming experience on modern display devices.
How To Install and Use Shaders on RetroArch?
Here's a step-by-step guide on how to use shaders on Retroarch:
Launch Retroarch: Open Retroarch on your device. Ensure that you have your game library loaded and ready to play.
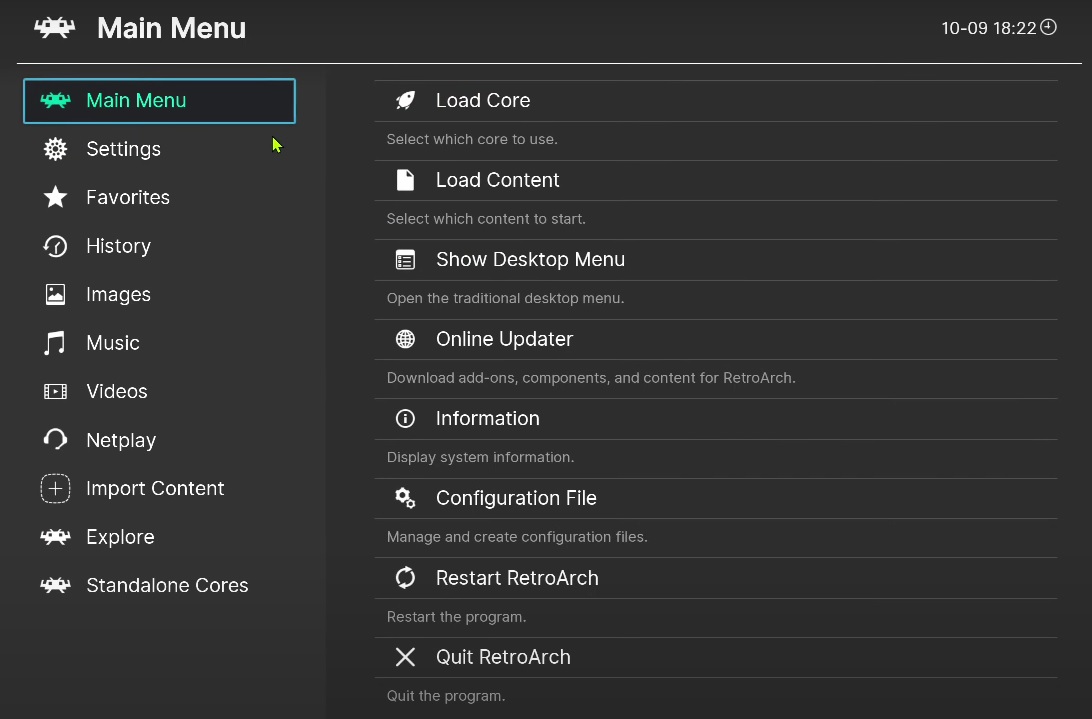
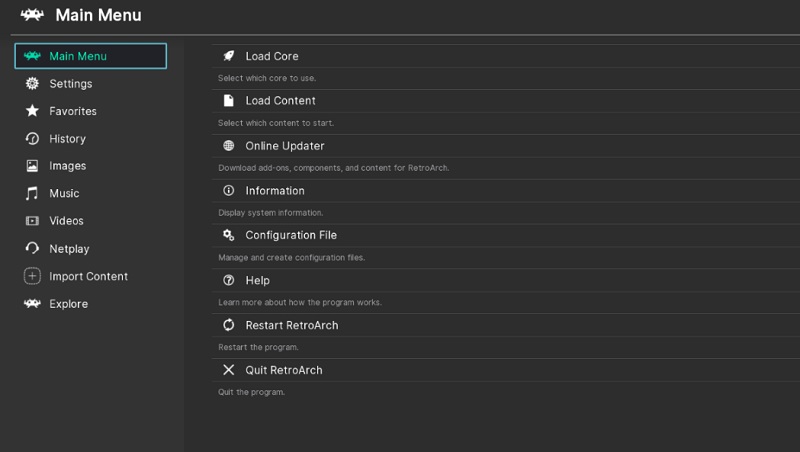
Access the Retroarch Menu: Depending on your device and configuration, you can access the Retroarch menu by pressing the "F1" key on your keyboard, the "Start" button on your gamepad, or by selecting the appropriate menu option.
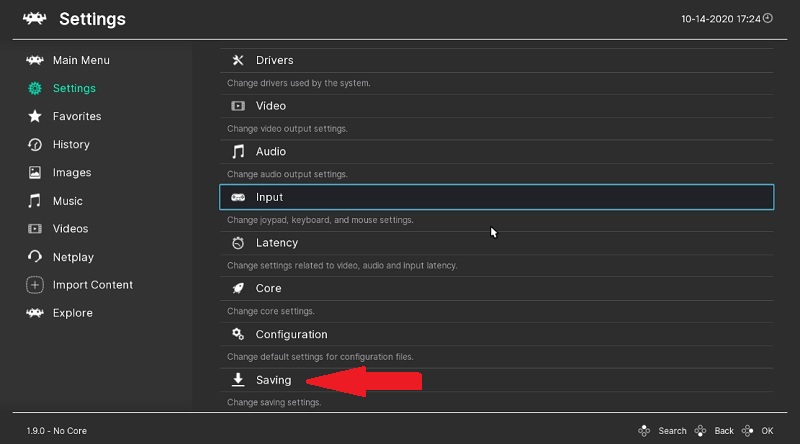
Navigate to the Shader Settings: Within the Retroarch menu, navigate to the "Settings" option. Scroll down or use the arrow keys on your keyboard/gamepad to find the "Shader Settings" menu.

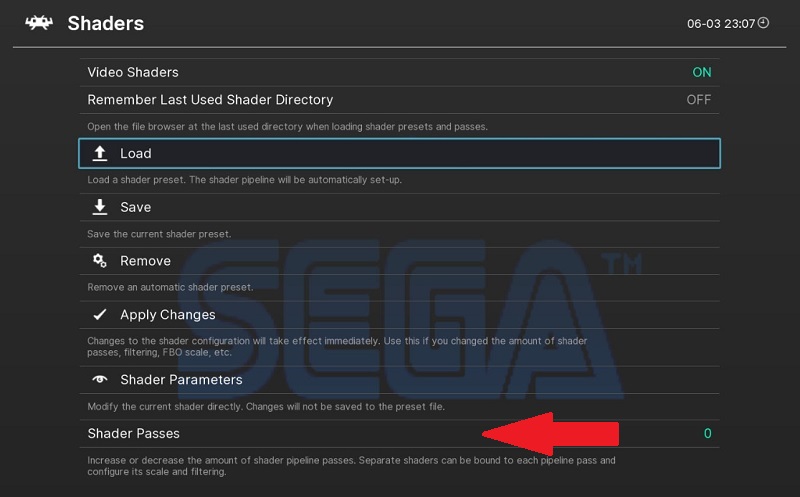
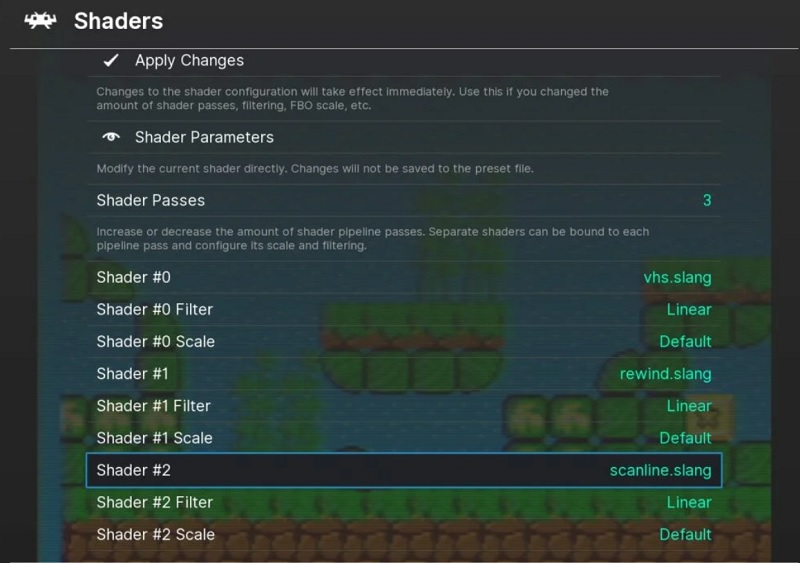
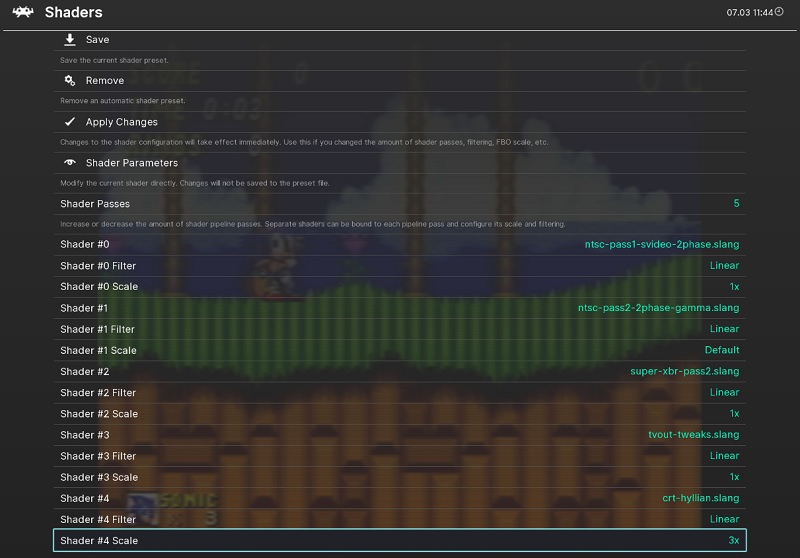
Enable Shaders: In the "Shader Settings" menu, locate the "Shader Passes" option. Enable the shader passes by setting the value to "1" or higher. This enables the use of shaders in Retroarch.
Load a Shader: To load a shader, navigate to the "Shader Preset" option within the "Shader Settings" menu. Select this option to open the shader presets menu.
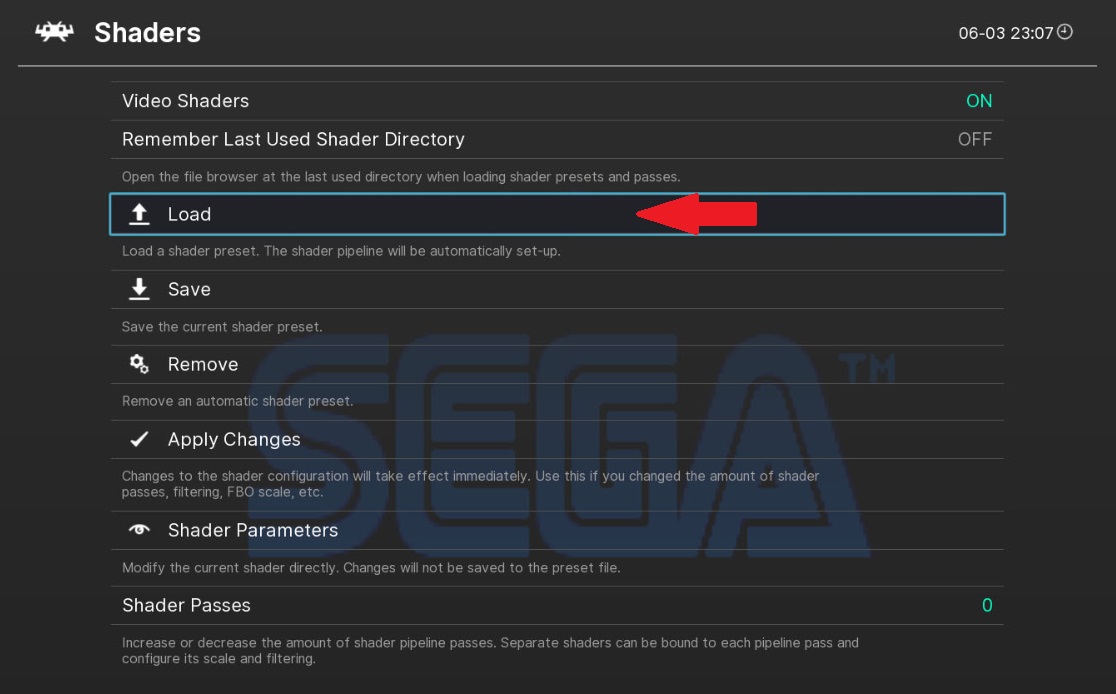
Choose a Shader Preset: In the shader presets menu, you'll find a list of available shaders. Use the arrow keys on your keyboard/gamepad to browse through the options. Each shader may have a unique name and description. Select the shader preset that you wish to use.
Apply the Shader: After selecting a shader preset, navigate to the "Apply Shader Changes" option within the "Shader Preset" menu. Choose this option to apply the selected shader to your gameplay.

Adjust Shader Parameters (Optional): Retroarch allows you to further customize the shader parameters. Within the "Shader Parameters" option in the "Shader Settings" menu, you can fine-tune settings such as brightness, contrast, scanline intensity, and more. Adjust these parameters according to your preferences.
Save and Exit: Once you're satisfied with the shader settings, navigate to the "Save Current Configuration" or "Save Core Remap File" option in the Retroarch menu. Choose this option to save your shader configuration. Exit the Retroarch menu to return to your game.
Enjoy the Shaders: You can now enjoy your games with the applied shaders. The visual effects will be present, providing an enhanced and customized gaming experience.
Remember, you can always revisit the Retroarch menu to change or disable shaders as desired. Experiment with different presets and settings to find the perfect visual style for your Retroarch gaming sessions.
How To Update Shaders on RetroArch?
To update shaders on RetroArch, follow these steps?
Launch RetroArch: Open RetroArch on your device and ensure that your game library is loaded.
Access the RetroArch Menu: Depending on your device and configuration, you can access the RetroArch menu by pressing the "F1" key on your keyboard, the "Start" button on your gamepad, or by selecting the appropriate menu option.
Navigate to the Shader Settings: Within the RetroArch menu, navigate to the "Settings" option. Scroll down or use the arrow keys on your keyboard/gamepad to find the "Shader Settings" menu.
Check for Shader Updates: Look for an option within the "Shader Settings" menu that allows you to check for updates. This option may be labeled as "Update Shaders," "Download Shader Updates," or something similar.
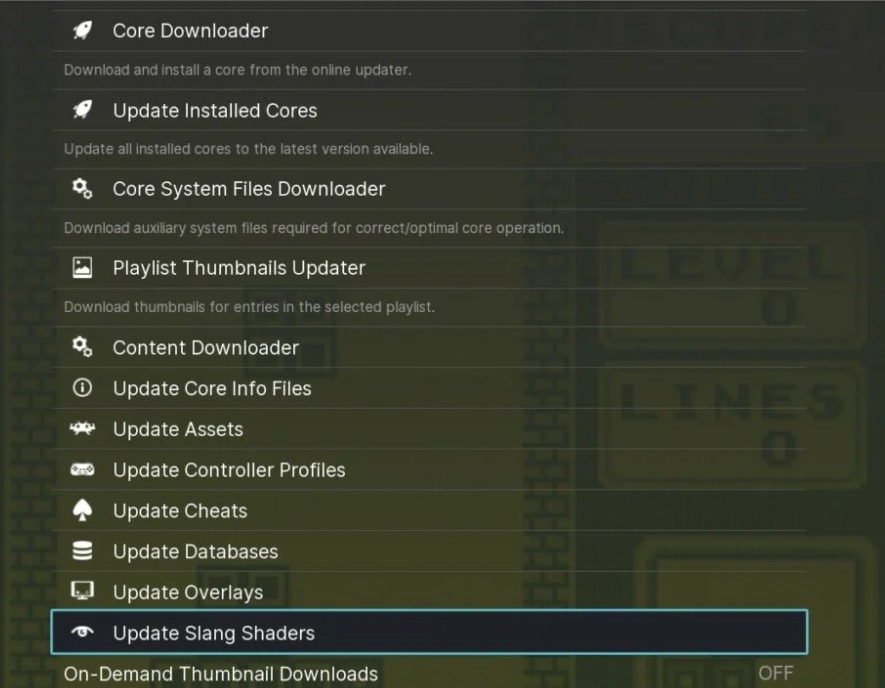
Select Update: Choose the "Update Shaders" or a similar option to initiate the update process. RetroArch will connect to the internet (if available) and search for updates for the shaders.
Download Updated Shaders: If any updates are found, RetroArch will display the available shader updates. Select the shaders you want to update and proceed with the download. Make sure you have a stable internet connection to download the updated shader files.
Install the Updated Shaders: Once the shader updates are downloaded, RetroArch will automatically install them. This process may take a few moments, depending on the size of the update and your device's performance.
Restart RetroArch: After the shaders are successfully updated and installed, it is recommended to restart RetroArch. Exit the RetroArch menu and relaunch the application.
Verify the Updated Shaders: Once RetroArch restarts, verify that the shaders have been updated by accessing the "Shader Settings" menu. Check for the version numbers or other indications that reflect the updated shaders.
By following these steps, you can easily update the shaders in RetroArch. Keeping your shaders up to date ensures access to the latest improvements and bug fixes, enhancing your visual experience during gameplay.
How To Remove Shaders From RetroArch?
To remove a shader from RetroArch, follow these steps:
Launch RetroArch: Open RetroArch on your device and ensure that your game library is loaded.
Access the RetroArch Menu: Depending on your device and configuration, you can access the RetroArch menu by pressing the "F1" key on your keyboard, the "Start" button on your gamepad, or by selecting the appropriate menu option.
Navigate to the Shader Settings: Within the RetroArch menu, locate and select the "Settings" option. Scroll down or use the arrow keys on your keyboard/gamepad to find the "Shader Settings" menu.
Disable or Remove the Shader: In the "Shader Settings" menu, there are different options available based on your RetroArch version and configuration. You can either disable or remove the shader, depending on your preference.
a) Disable the Shader: If you want to temporarily disable the shader without removing it completely, look for an option such as "Shader Passes" or "Shader Enable." Set the value to "0" to disable the shader. This will revert the graphics to the default settings without any shader effects.
b) Remove the Shader: If you want to permanently remove the shader from your RetroArch configuration, look for an option such as "Remove Shader" or "Delete Shader." Select this option to remove the shader from the active shader list.
Save and Exit: Once you have disabled or removed the shader, navigate to the option to save the current configuration. Select this option to save the changes you made. Exit the RetroArch menu to return to your game.
After following these steps, the shader you disabled or removed will no longer be applied to your games in RetroArch. You can always revisit the "Shader Settings" menu to re-enable or add different shaders as desired.
Have more and better information? Contribute by expanding the content of this page.