RetroArch is a powerful and versatile emulator frontend that serves as a unified interface for running games from various gaming consoles and platforms on your PC, making it a one-stop destination for retro gaming enthusiasts. Rather than having separate emulators for different consoles, RetroArch consolidates them into a single platform, allowing you to play games from systems such as the NES, SNES, Sega Genesis, PlayStation, and many more, all in one place.
How to Install RetroArch on PC (Windows 7, 8, 10, 11)
You can install RetroArch on any version of Windows OS using the following guide:
Step 1: Download RetroArch for Windows
Open your preferred web browser on your PC and navigate to the RetroArch emulator.
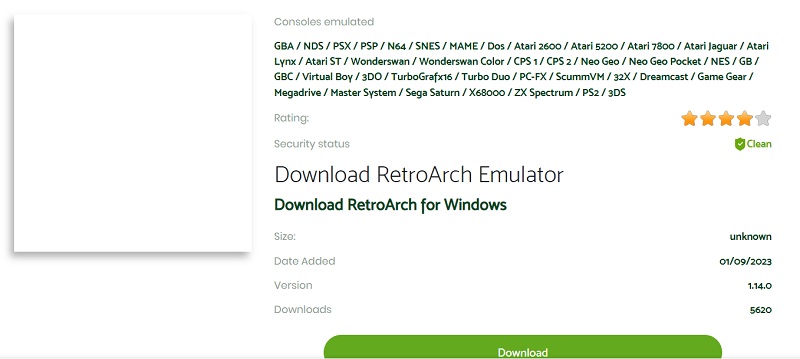
Scroll down to the Windows section and click on the appropriate link based on your system architecture. Choose between "Windows (32-bit)" or "Windows (64-bit)" depending on your operating system.
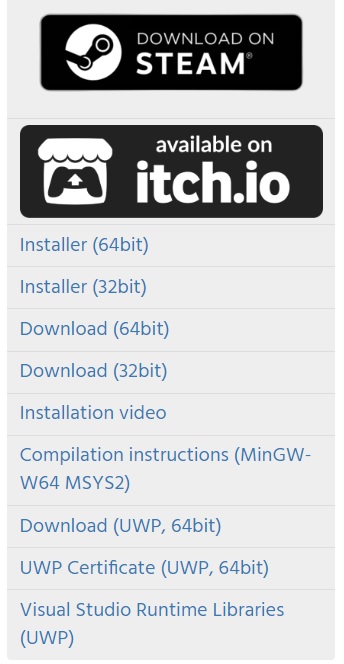
Save the RetroArch installer file to a location on your computer. For convenience, you can save it to your desktop.
Step 2: Install RetroArch on Windows OS
Locate the RetroArch installer file you downloaded in the previous step.

Double-click on the installer file to initiate the installation process.
If prompted by the User Account Control (UAC) dialog, click "Yes" to grant permission for the installer to make changes to your computer.
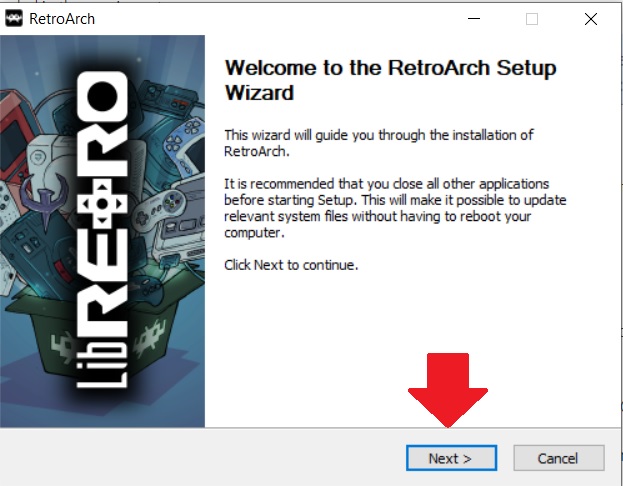
The RetroArch Setup Wizard will now appear on your screen. Click on the "Next" button to proceed.
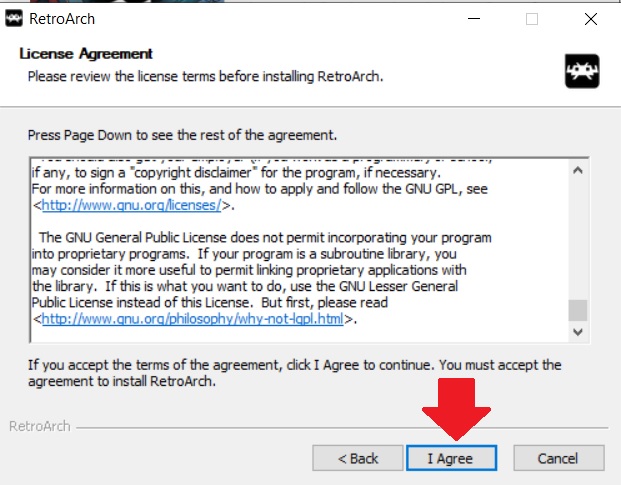
Read and accept the license agreement by selecting the "I accept the agreement" option. Then, click "Next" to continue.
Choose the destination folder where you want RetroArch to be installed. You can either use the default location or specify a different folder. Once you've made your selection, click "Next."

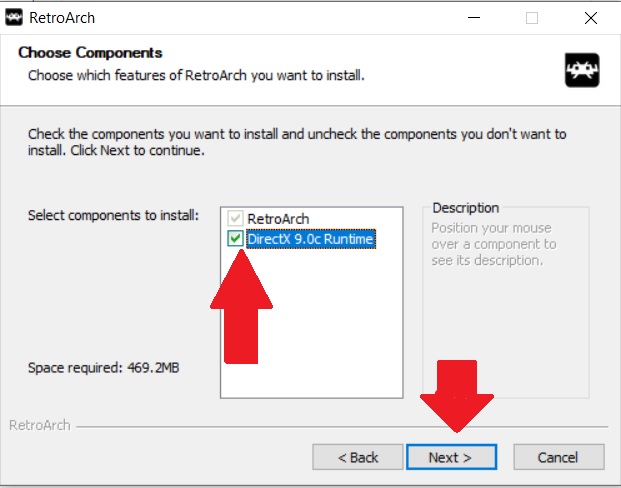
On the component selection screen, it is recommended to keep all the components selected for a complete installation of RetroArch. Click "Next" to proceed.
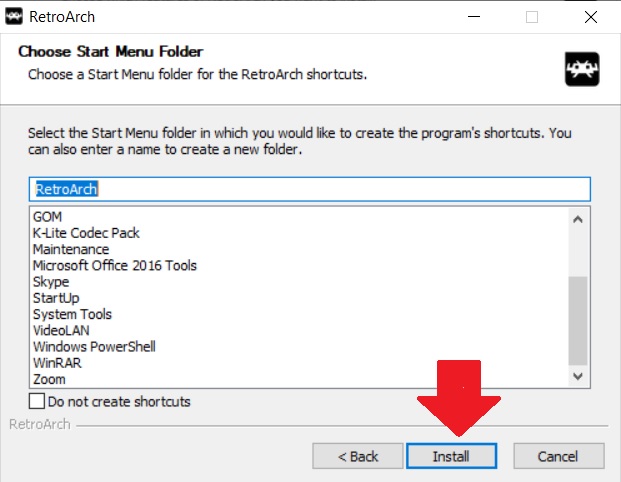
Select the Start Menu folder where RetroArch shortcuts will be created. You can either stick with the default option or choose a different folder. Click "Next" to continue.
The next screen allows you to select additional tasks, such as creating a desktop shortcut or associating file types. Check the boxes next to the tasks you wish to perform and click "Next."
Review the summary of your installation settings on the next screen. If everything looks correct, click the "Install" button to start the installation process.
Wait for the installation to complete. The progress bar will indicate the installation status, and this may take a few moments.
How to Installing RetroArch on Android?
In this chapter, we will walk you through the process of installing RetroArch on your Android device, enabling you to enjoy your favorite retro games wherever you go.
Step 1: Downloading RetroArch for Android
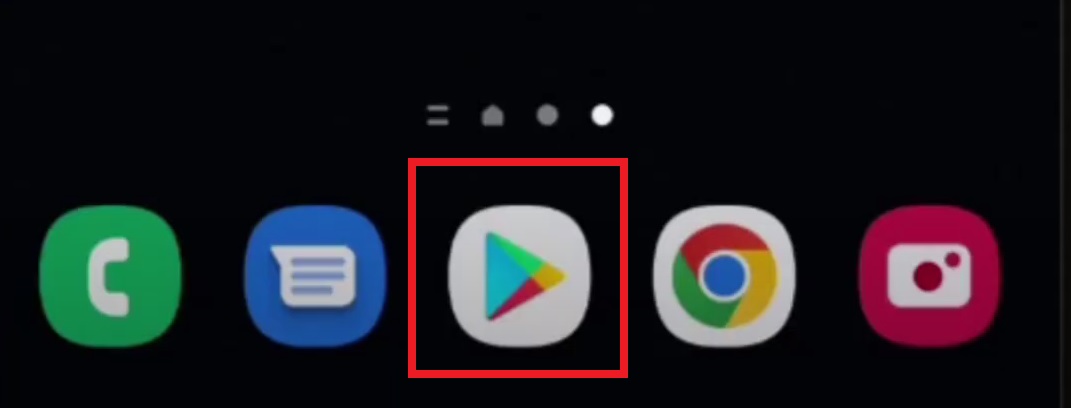
Open the RetroArch emulator on our website or go to the app/play store.
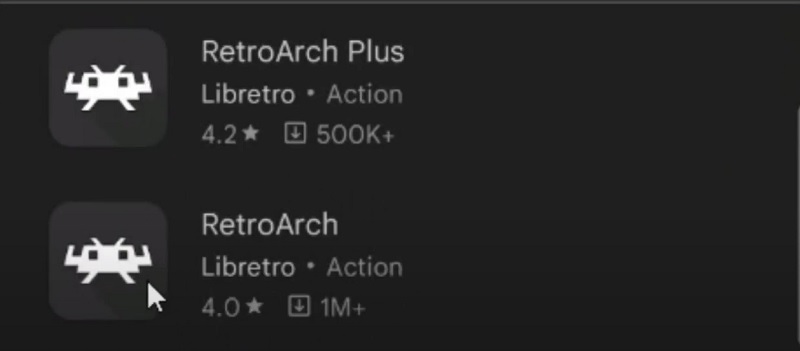
In the search bar, type "RetroArch" and press enter.
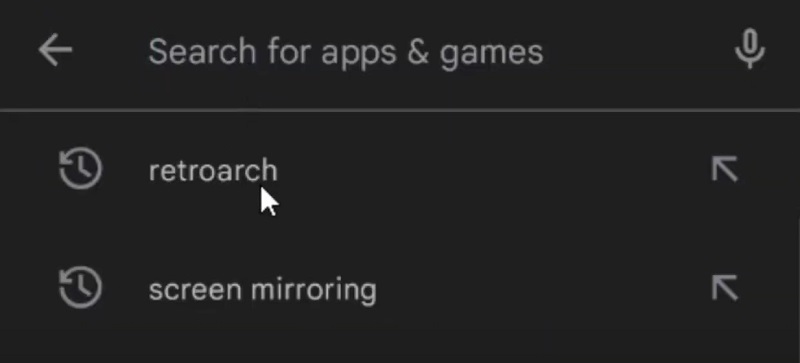
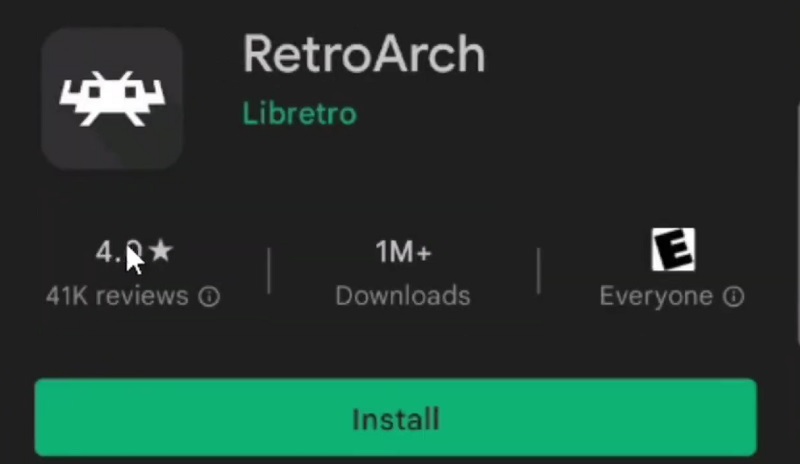
Locate the RetroArch app from the search results and tap on it.
On the RetroArch app page, tap the "Install" button.
 Review the permissions required by the app, and if you're comfortable with them, tap "Accept" to start the installation.
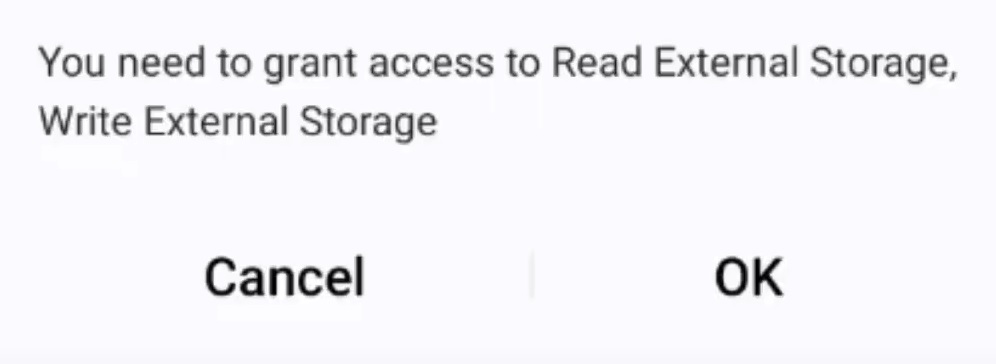
Step 2: Installing RetroArch Cores on Android version
Launch RetroArch on your Android device once the installation is complete.
You will be prompted to download and install cores for specific gaming consoles. Cores are the emulator engines required to run games from different systems.
Tap "Download" to view the available cores.
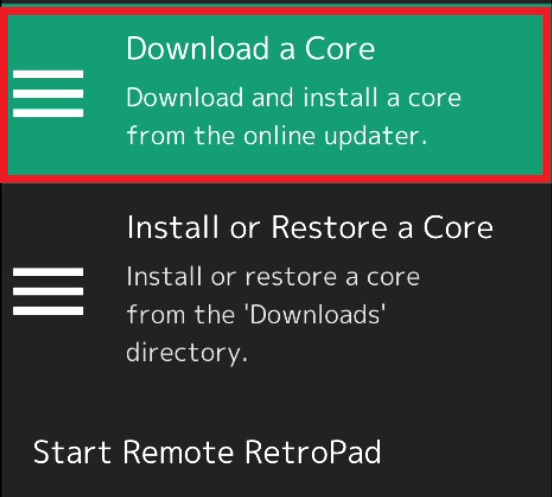
Scroll through the list and select the cores for the gaming consoles you want to emulate. For example, if you want to play NES games, select the NES core.
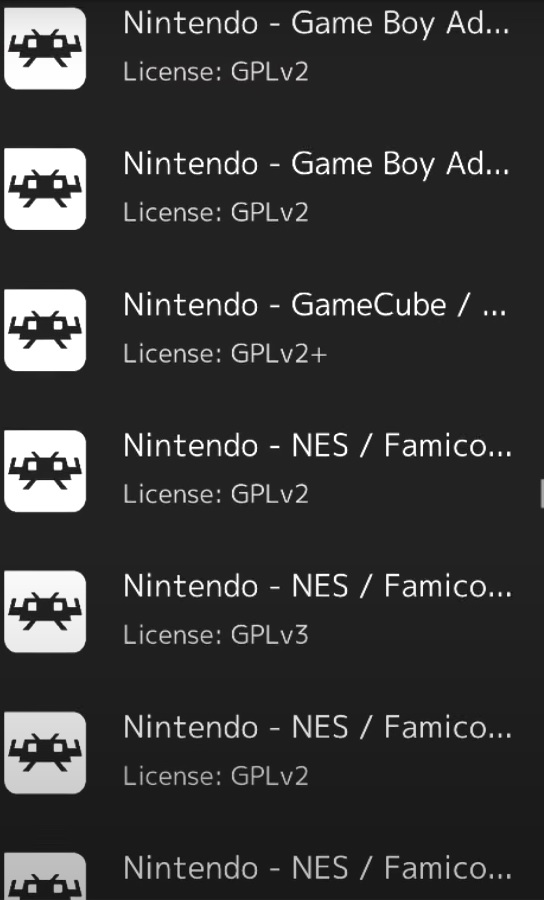
RetroArch will begin downloading the selected cores. Wait for the downloads to complete.
Step 3: Adding Games on Android
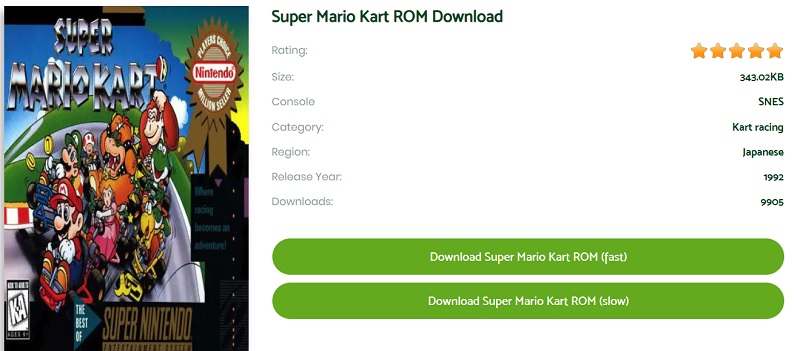
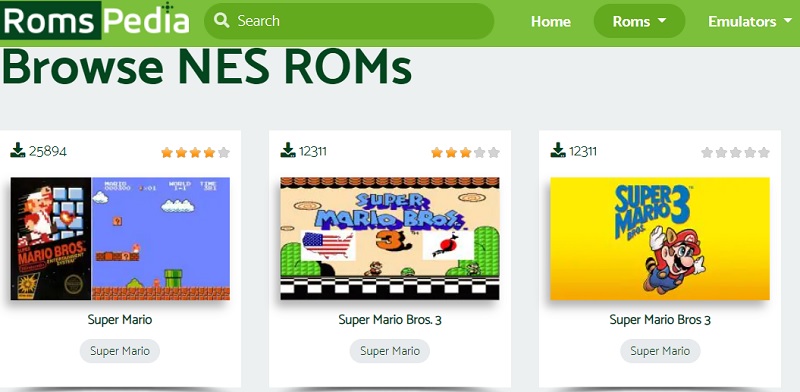
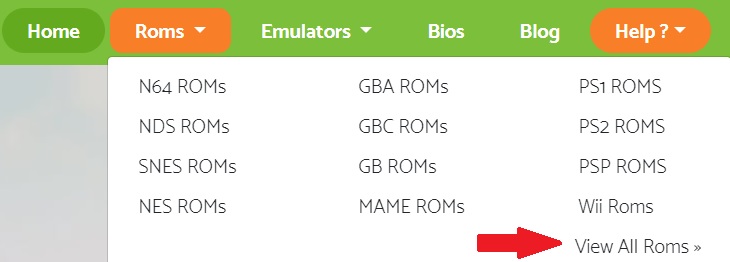
Go to the ROMs section on our website.
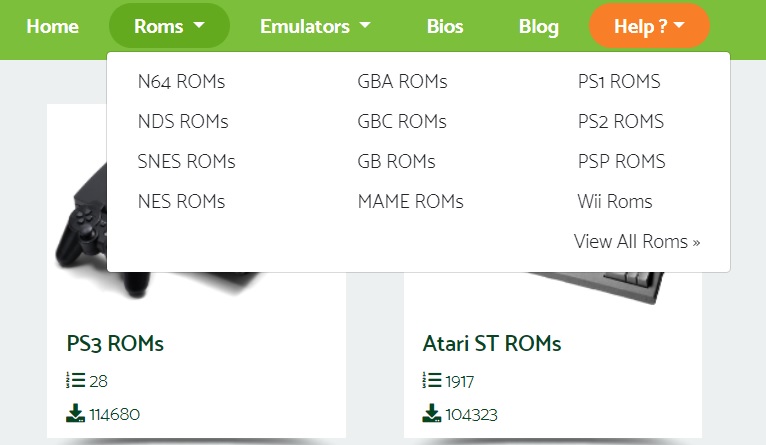
Download the game ROMs or ISOs to a location on your Android device, such as the Downloads folder.
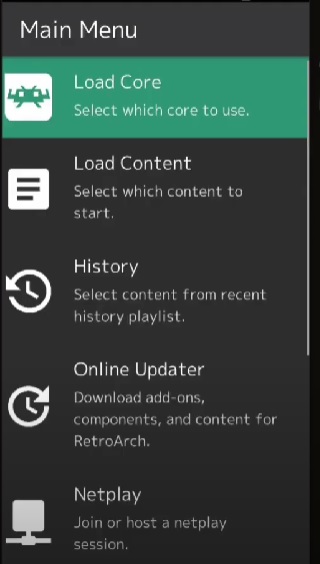
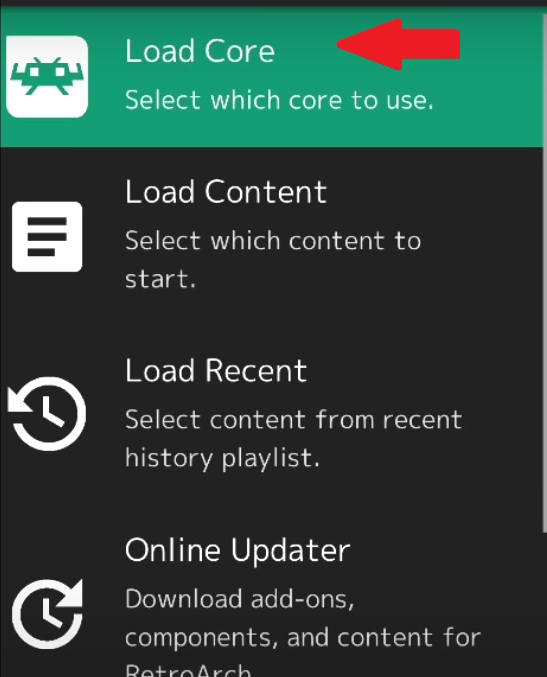
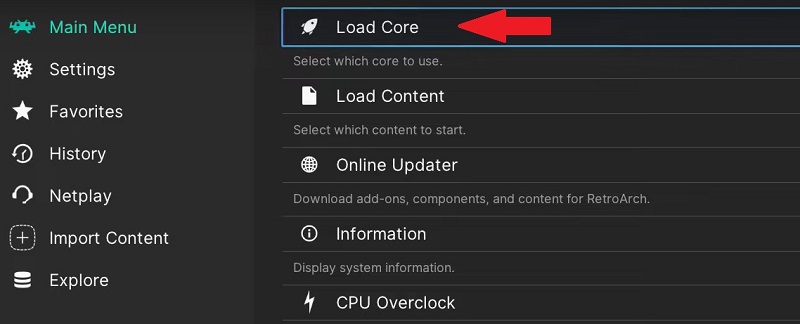
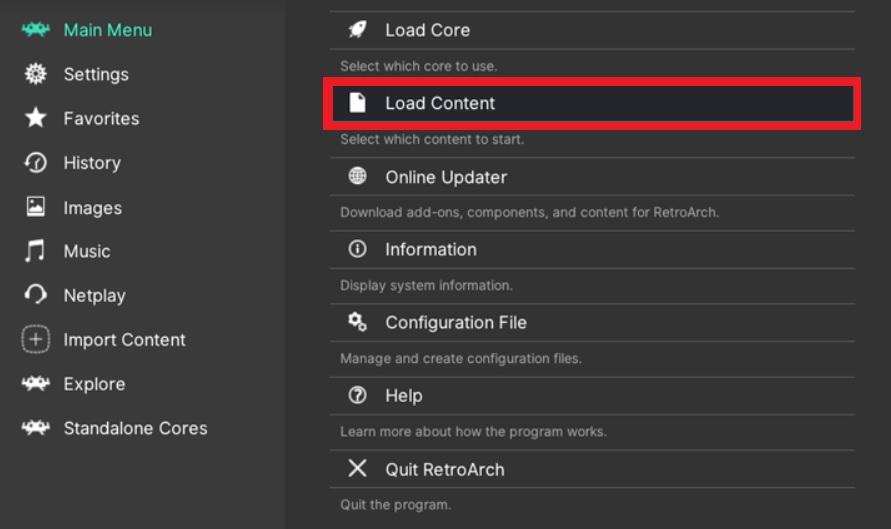
Launch RetroArch and tap the "Load Core" option from the main menu.
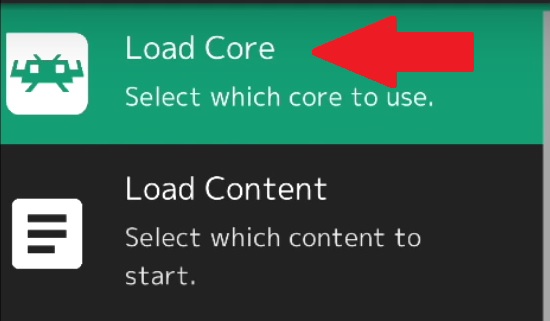
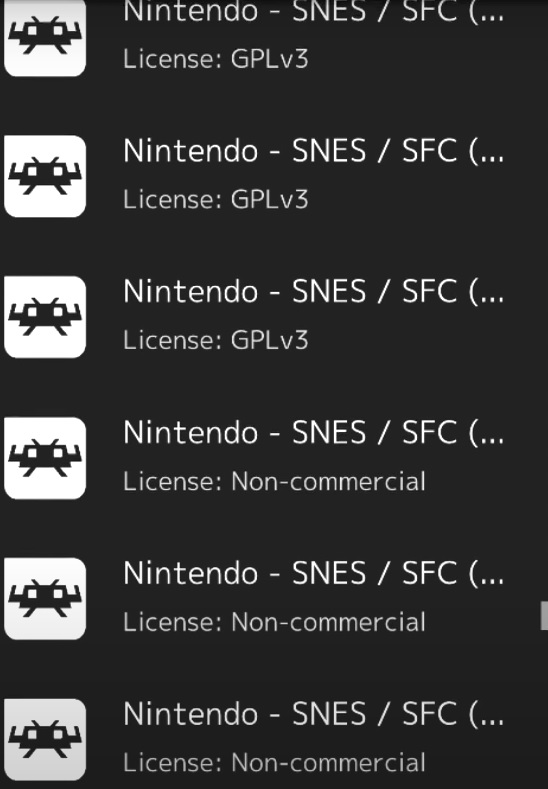
Select the core that corresponds to the gaming console for which you have downloaded the game ROM or ISO. For example, if you downloaded an SNES game, select the SNES core.
Once the core is loaded, go back to the main menu and tap the "Load Content" option.
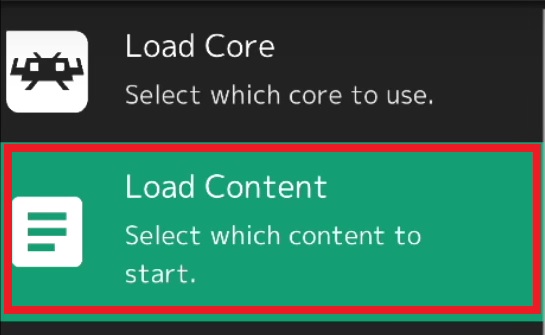
Navigate to the folder where you downloaded the game ROM or ISO, and select the file.
The game will start running in RetroArch, and you can now enjoy retro gaming on your Android device.

How to Install RetroArch on Nintendo Switch
If you own a Nintendo Switch and want to enjoy retro gaming on the go, installing RetroArch on your device is a great option. In this guide, we will walk you through the process of installing RetroArch on your Nintendo Switch.
Step 1: Prepare Your Nintendo Switch
Ensure that your Nintendo Switch is running a custom firmware such as Atmosphere or SX OS. This step is necessary to install RetroArch and other homebrew applications.

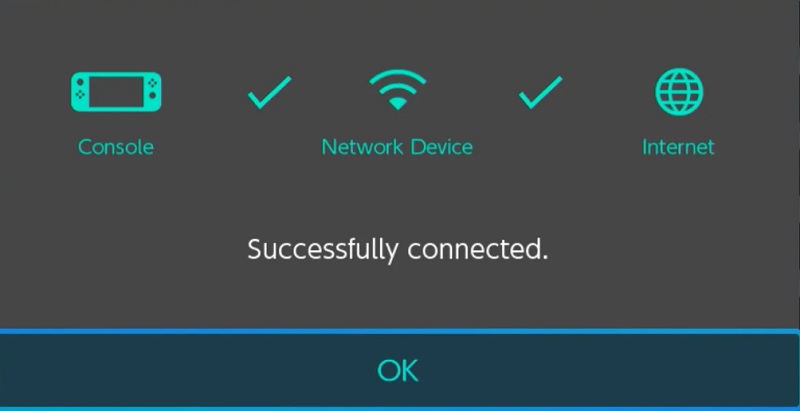
Make sure your Nintendo Switch is connected to the internet.
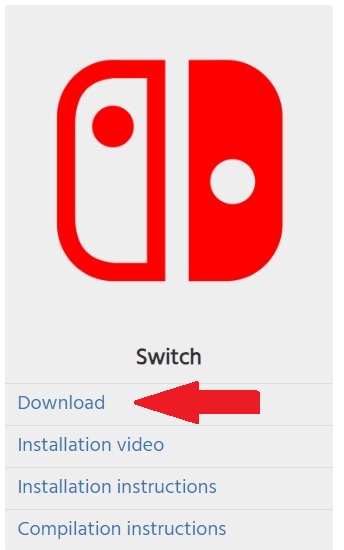
Step 2: Download RetroArch for Switch
Open the web browser on your Nintendo Switch.
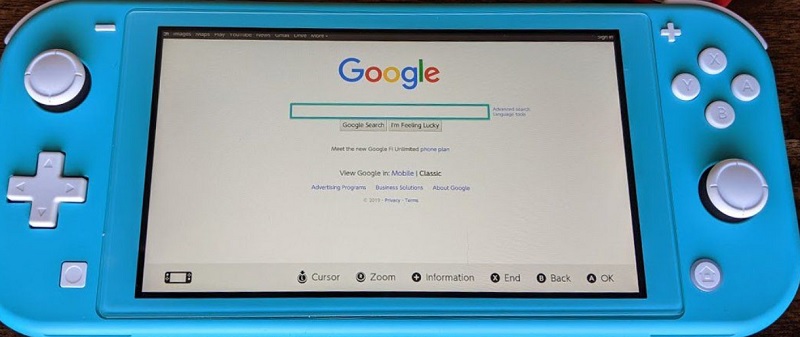
Navigate to the RetroArch emulator page.
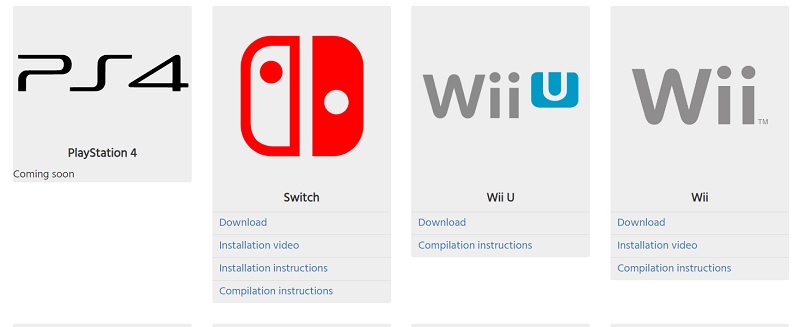
Scroll down to find the Nintendo Switch section and click on the download link for the latest stable release of RetroArch.
Step 3: Install RetroArch on Nintendo Switch
Once the RetroArch download is complete, locate the downloaded file in the file manager of your Nintendo Switch.
Open the downloaded file and follow the on-screen instructions to install RetroArch.
Step 4: Set Up RetroArch for Switch
After the installation is complete, launch RetroArch from the homebrew menu on your Nintendo Switch.
RetroArch will prompt you to download additional cores (emulators) for different gaming consoles.
Select the cores you want to install. You can choose cores for consoles like NES, SNES, Sega Genesis, and more.
Wait for the core downloads to complete.
Step 5: Add Game ROMs on RetroArch Switch
Once again, navigate to the ROMs page and download games.

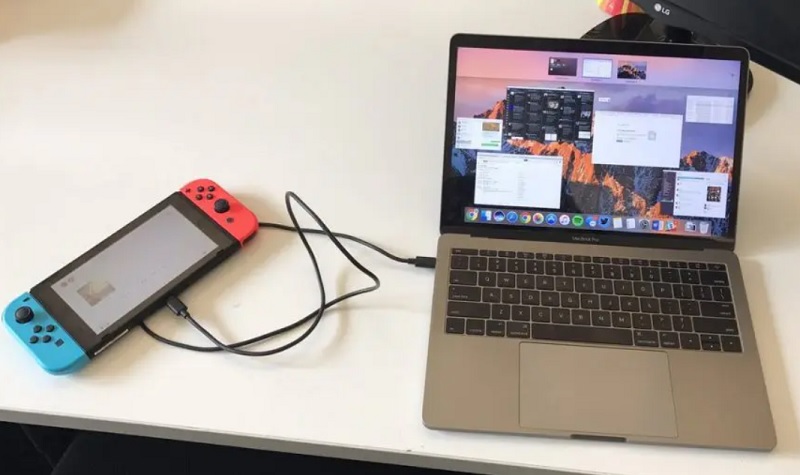
Transfer the game ROMs to your Nintendo Switch. You can do this by connecting your Switch to a computer via USB or by using an SD card reader.
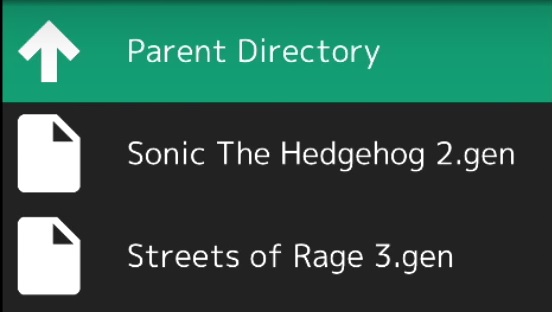
Launch RetroArch and navigate to the "Load Content" option.
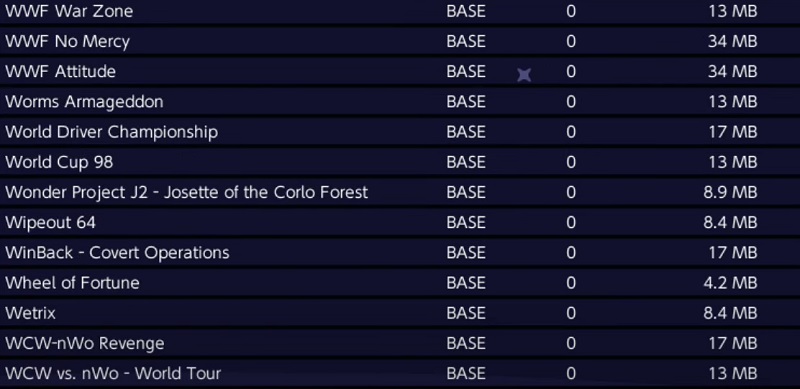
Select the game ROM you want to play from the list.
The game will start, and you can now enjoy retro gaming on your Nintendo Switch.
How to Install RetroArch on Xbox (Xbox One or Series X/S)
If you own an Xbox One or Xbox Series X/S and want to enjoy retro gaming on your console, installing RetroArch can provide you with a vast library of classic games. In this guide, we will walk you through the process of installing RetroArch on your Xbox console.
Step 1: Enable Developer Mode on Your Xbox
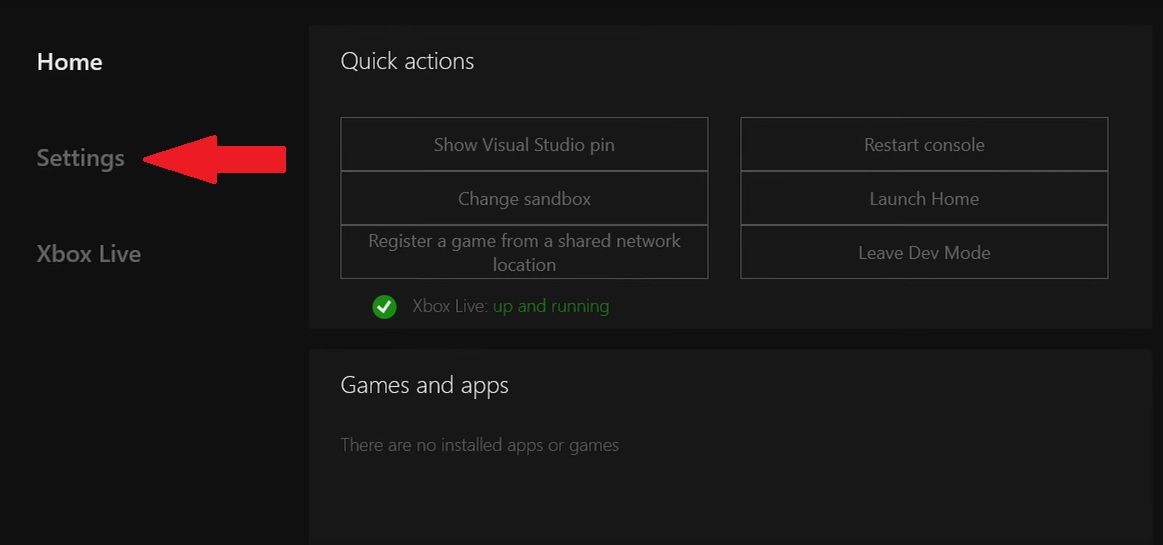
On your Xbox console, go to the "Settings" menu.
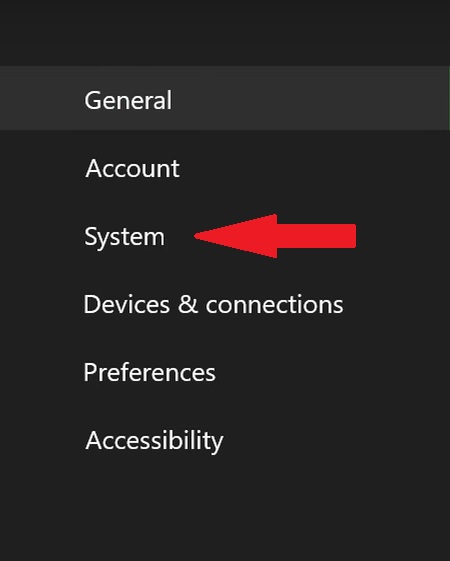
Under "System," select "Console info."
Choose "Developer settings."
Toggle the "Developer mode" option to enable it.
Follow the on-screen instructions to complete the developer mode setup process.
Restart your Xbox console.
Step 2: Download RetroArch UWP for Xbox
On your computer, open a web browser and go to the RetroArch UWP GitHub repository.
Scroll down to the "Assets" section and download the latest RetroArch UWP package. Make sure to select the appropriate version for your Xbox console (x64 for Xbox One or ARM for Xbox Series X/S).
Step 3: Install RetroArch UWP on Your Xbox
Extract the downloaded RetroArch UWP package on your computer.
Open the "Xbox Device Portal" on your Xbox console. To access it, go to the "Settings" menu, select "System," and choose "Console info." Then, press the "X" button on your controller five times to open the Developer settings. From there, enable the "Device portal" and note the IP address displayed on the screen.
On your computer, open a web browser and enter the IP address of your Xbox console from the previous step.
Log in to the Xbox Device Portal using the provided credentials.
In the Xbox Device Portal, navigate to the "Apps" section and click on "Add" to upload the RetroArch UWP package you extracted earlier.
Wait for the upload to complete, and then click on "Install" to install RetroArch on your Xbox console.
Step 4: Launch RetroArch on Your Xbox
On your Xbox console, go to the "Apps" section.
Locate and launch RetroArch from the list of installed apps.
Step 5: Add Cores and Games to RetroArch on Xbox
After launching RetroArch, you will need to add cores to emulate specific consoles.
On your computer, go to the RetroArch website.
Download the cores (emulators) for the consoles you want to play on your Xbox console.
Transfer the downloaded cores to a USB drive or an external storage device compatible with your Xbox console.
Connect the USB drive or external storage device to your Xbox console.
In RetroArch, go to the "Load Core" option and select the desired core from the USB drive or external storage device.
Once the core is loaded, you can add game ROMs to RetroArch by transferring them to the Xbox console or accessing them from a network source.
Launch RetroArch, navigate to the "Load Content" option, and select the game ROM you want to play.
Enjoy retro gaming on your Xbox console using RetroArch!
How To Install RetroArch Emulator on 3DS?
If you own a Nintendo 3DS and want to enjoy retro gaming on the go, installing RetroArch on your handheld console can provide you with a wide range of nostalgic gaming experiences. In this guide, we will walk you through the process of installing RetroArch on your Nintendo 3DS.
Step 1: Prepare Your Nintendo 3DS
Ensure that your Nintendo 3DS handheld console is running a custom firmware such as Luma3DS or Boot9Strap. This step is necessary to install homebrew applications like RetroArch.

Make sure your Nintendo 3DS is connected to the internet.
Step 2: Download RetroArch for Nintendo 3DS
On your computer, open a web browser and go to the RetroArch page.
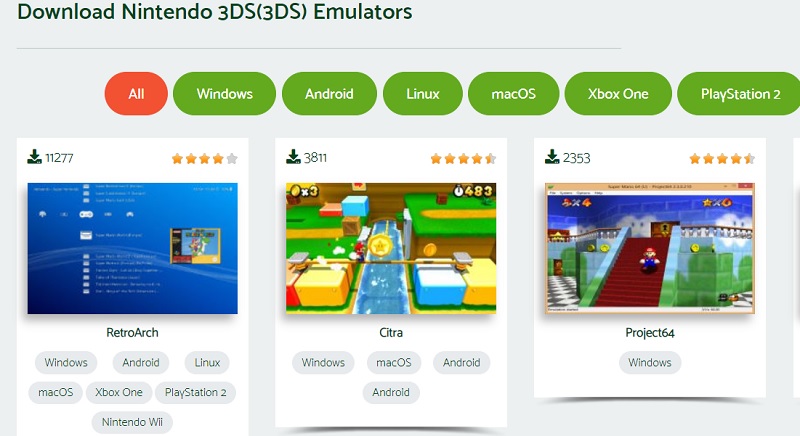
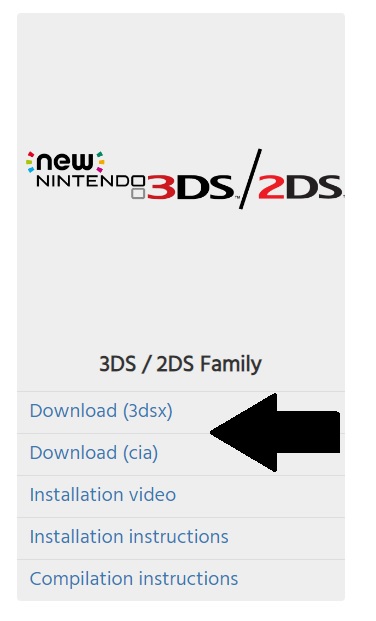
Scroll down to find the Nintendo 3DS section and download the RetroArch package for Nintendo 3DS.
Step 3: Install RetroArch on 3DS
Extract the downloaded RetroArch package on your computer.

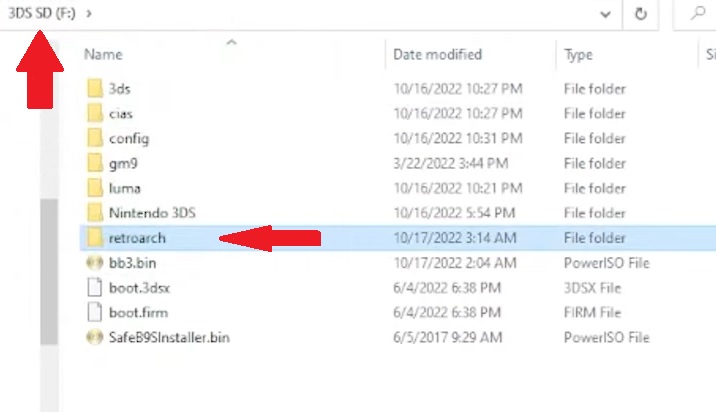
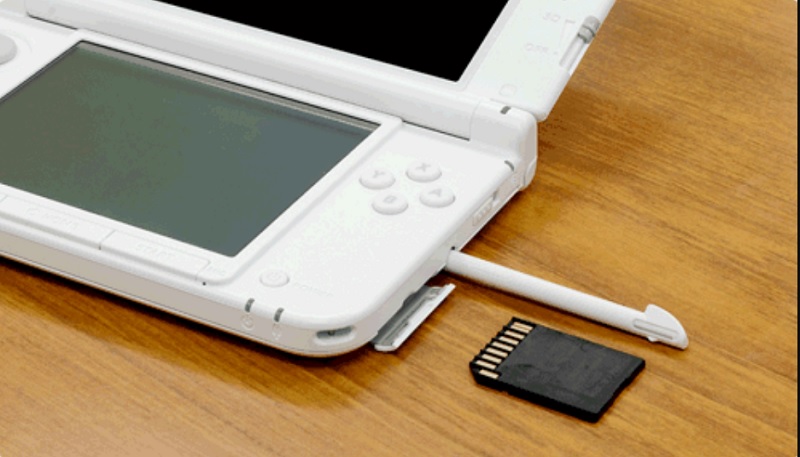
Copy the RetroArch CIA file to the SD card of your Nintendo 3DS.

Insert the SD card back into your Nintendo 3DS.
On your Nintendo 3DS, launch the custom firmware (e.g., Luma3DS).
Launch the Homebrew Launcher from the custom firmware menu.
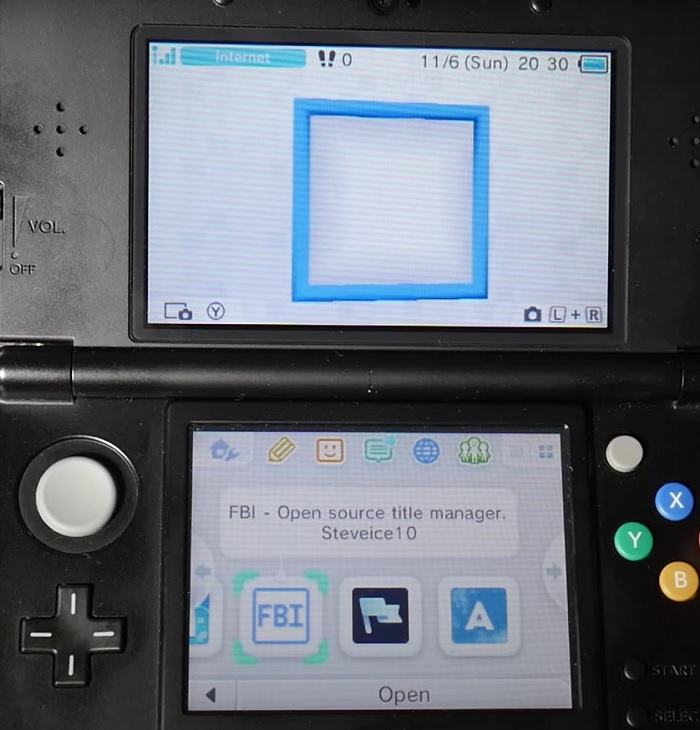
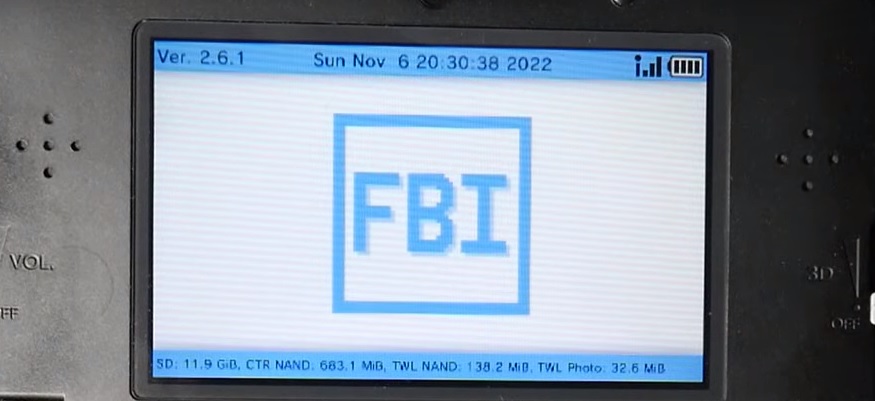
Find and launch the FBI (Title Manager) application.
Navigate to the SD card directory and locate the RetroArch CIA file.
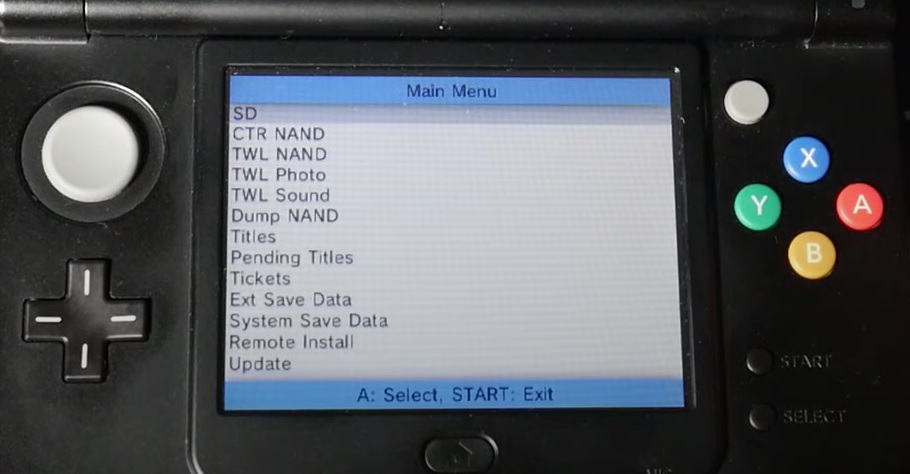
Install RetroArch by following the on-screen instructions in FBI.

Step 4: Set Up RetroArch on 3DS
Once RetroArch is installed, exit FBI and return to the 3DS home screen.
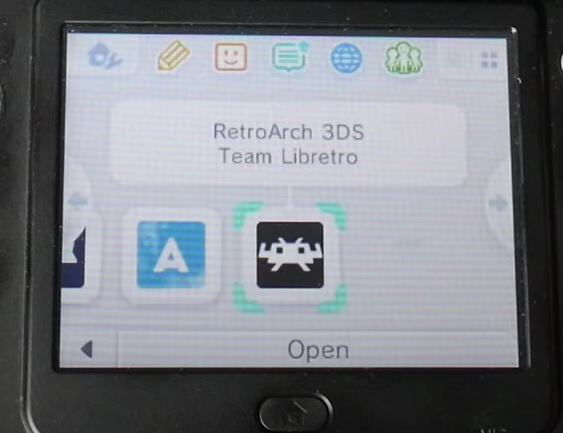
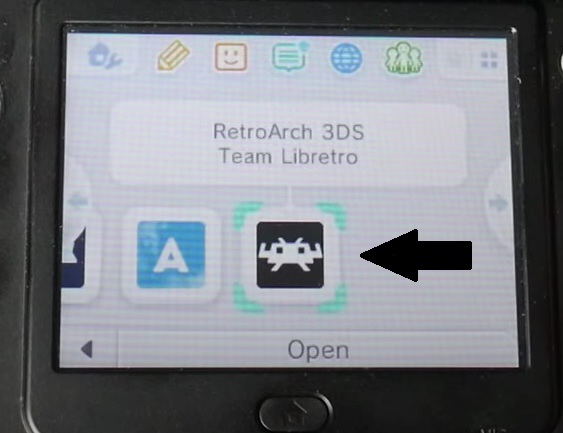
Launch RetroArch from the home screen of your Nintendo 3DS.
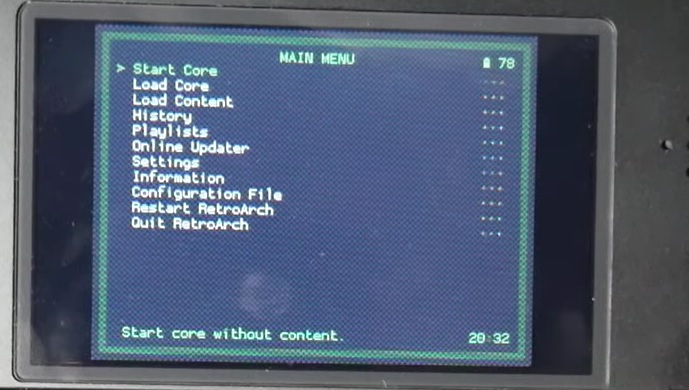
RetroArch will prompt you to download cores (emulators) for various consoles. Select the cores you want to use and download them.
Step 5: Add Games to RetroArch on the 3DS Console
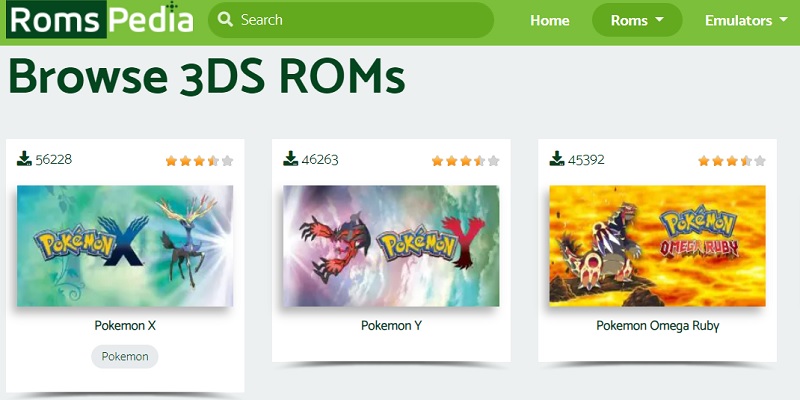
To play games on RetroArch, you'll need to add 3DS game ROMs to your Nintendo 3DS SD card.
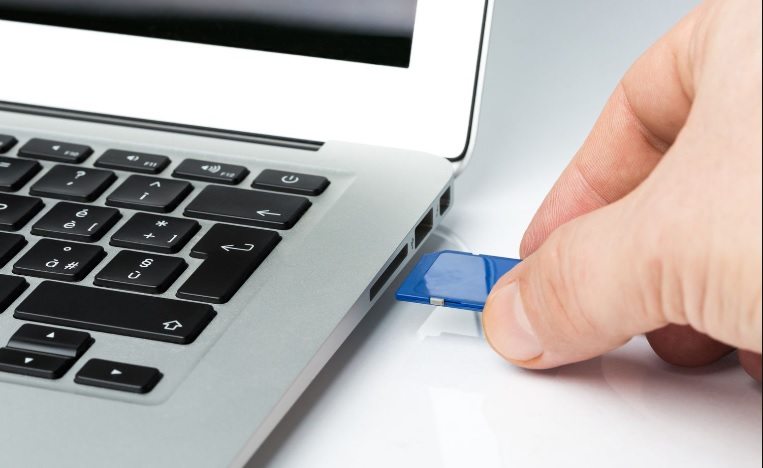
Connect your Nintendo 3DS SD card to your computer.
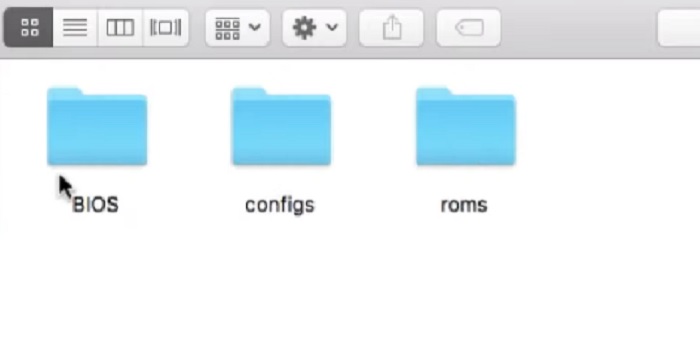
Create a folder named "roms" on the root of your SD card if it doesn't already exist.
Inside the "roms" folder, create subfolders for each console you want to emulate (e.g., "nes" for NES games, "gba" for GameBoy Advance games).
Transfer the game ROMs to their respective console folders on the SD card.
Eject the SD card from your computer and insert it back into your Nintendo 3DS.
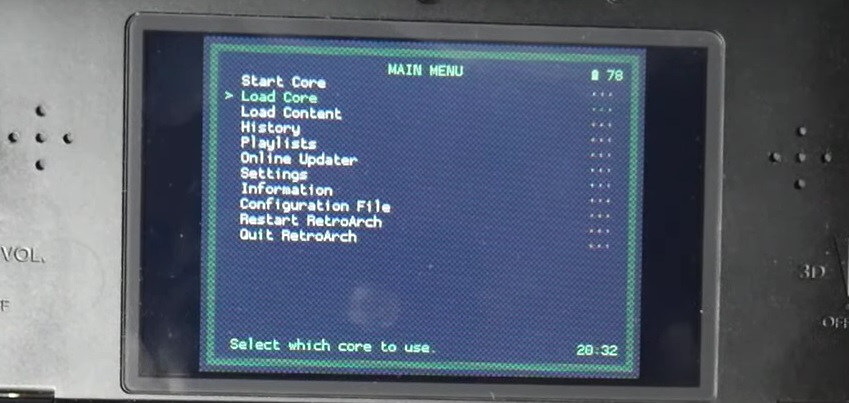
Launch RetroArch on your Nintendo 3DS.
Navigate to the "Load Content" option in RetroArch and browse for the game ROM you want to play.
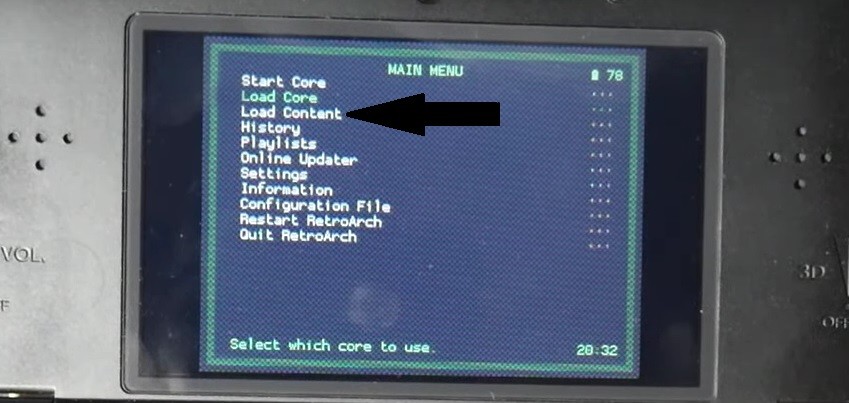
Select the game ROM and enjoy retro gaming on your Nintendo 3DS!
Downloading and Installing RetroArch on PlayStation Vita
RetroArch is a powerful multi-platform emulator that allows you to play games from various classic consoles on different devices. If you are bored of playing PlayStation Vita games and want to play other console games on the exact same PS Vita console, installing RetroArch is the right choice for this. In this guide, we will walk you through the process of downloading and installing RetroArch on your PlayStation Vita.
Step 1: Prepare Your PlayStation Vita
Ensure Custom Firmware - Make sure your PlayStation Vita is running a custom firmware such as HENkaku or H-Encore. This step is necessary to install homebrew applications like RetroArch.
Connect to the Internet - Ensure that your PlayStation Vita is connected to the internet.
Step 2: Download RetroArch for PS Vita
Open the Web Browser - On your PlayStation Vita, open the web browser application.
Download RetroArch from RomsPedia - Go here and download the PS Vita version.
Make sure your download is in .vpk format
Step 3: Install RetroArch on PS Vita
With the RetroArch VPK file downloaded, let's install RetroArch on your PlayStation Vita:
- Launch MolecularShell: On your PlayStation Vita, navigate to the home screen and launch the MolecularShell application.
- Locate RetroArch VPK: Navigate to the location where you saved the RetroArch VPK file.
- Install RetroArch: Select the RetroArch VPK file and press the "X" button to install. Follow the on-screen instructions to complete the installation.
Step 4: Set Up RetroArch on PS Vita
Once RetroArch is installed, let's proceed with the setup:
- Launch RetroArch: Return to the PlayStation Vita home screen and launch RetroArch from there.
- Download Cores: RetroArch will prompt you to download cores (emulators) for various consoles. Select the cores you want to use and download them.
Step 5: Add Games to RetroArch
Now, it's time to add games to RetroArch and start playing:
- Obtain Game ROMs: To play games on RetroArch, you'll need to obtain game ROMs for the consoles you want to emulate.
- Connect PlayStation Vita to Computer: Connect your PlayStation Vita to your computer using a USB cable.
- Transfer Game ROMs: Open the content manager on your PlayStation Vita, select "Copy Content," and choose the storage location for the games. Transfer the game ROMs to the appropriate storage location on your PlayStation Vita.
- Launch RetroArch and Play: Disconnect your PlayStation Vita from the computer, launch RetroArch on your PlayStation Vita, navigate to the "Load Content" option, and browse for the game ROM you want to play. Select the game ROM and enjoy retro gaming on your PlayStation Vita!
How to Install RetroArch on Chromebook
Here's a step-by-step guide on how to install RetroArch on your Chromebook.
Step 1: Enable Linux (Beta)
Before you can install RetroArch, you need to enable the Linux (Beta) feature on your Chromebook. Here's how:
- Click on the time in the bottom-right corner of the screen.
- Select the gear icon to open the Settings menu.
- Scroll down and click on "Advanced" to expand the advanced settings.
- Under the "Developers" section, click on "Developers tool" to enable the Linux (Beta) feature.
- Click on "Turn on" in the Linux (Beta) section and follow the on-screen instructions to set up Linux on your Chromebook.
Step 2: Install RetroArch on Chromebook
Now that you have enabled Linux (Beta), you can proceed with installing RetroArch:
- Open the Linux Terminal by pressing
Ctrl + Alt + T. - Type the following command to update the package lists:
sudo apt update - After the update is complete, type the following command to install RetroArch:
sudo apt install retroarch - Follow the on-screen instructions to complete the installation process.
Step 3: Configure RetroArch on Chromebook
Once RetroArch is installed, you need to configure it to work properly:
- Launch RetroArch by searching for it in the app launcher or by typing
retroarchin the Linux Terminal. - On the first launch, RetroArch will create a default configuration file. You can modify the settings later if needed.
- Next, you need to add cores (emulators) to RetroArch. Cores allow you to play games from specific consoles. To add a core, go to "Online Updater" > "Core Updater" and select the core you want to install.
- After installing the cores, you can load games by going to "Load Content" and selecting the game file you want to play.
Step 4: Enjoy Retro Gaming on your Chromebook
With RetroArch installed and configured, you're now ready to enjoy retro gaming on your Chromebook. Have fun!
How To Install RetroArch on SNES Classic/SNES Classic Mini
RetroArch is a versatile multi-platform emulator that allows you to play games from various retro gaming consoles on your SNES Classic / SNES Classic Mini. Here's a step-by-step guide on how to install RetroArch on your SNES Classic. In the process we will use an external program called hakaci.
Step 1: Prepare your SNES Classic
Before you can install RetroArch, you need to prepare your SNES Classic by installing a custom firmware called "hakchi2" or "hakchi2 CE." This firmware allows you to modify the system and install additional software. Here's what you need to do:
- Download and install the latest version of hakchi2 or hakchi2 CE on your computer from the >Github repo page.
- Connect your SNES Classic to your computer using a USB cable.
- Follow the on-screen instructions provided by hakchi2 or hakchi2 CE to flash the custom firmware onto your SNES Classic.
- Once the installation is complete, your SNES Classic will reboot with the custom firmware installed.
Step 2: Install RetroArch on SNES Classic Mini
Now that you have the custom firmware installed, you can proceed with installing RetroArch:
- Launch hakchi2 or hakchi2 CE on your computer.
- Click on the "Modules" tab in hakchi2 or hakchi2 CE.
- Click on "Kernels" and then select "Install extra kernel modules."
- In the list of available modules, find and select "retroarch_hmod" and click "OK" to install it.
- Wait for the installation to complete.
- Once the installation is finished, synchronize your SNES Classic with hakchi2 or hakchi2 CE to apply the changes.
Step 3: Configure RetroArch on SNES Classic
After installing RetroArch, you need to configure it to work properly on your SNES Classic:
- In hakchi2 or hakchi2 CE, click on the "Modules" tab and select "RetroArch" from the list of installed modules.
- Click on the "Configuration" button to open the RetroArch configuration.
- Adjust the settings according to your preferences. You can configure controller input, video settings, audio settings, and more.
- Once you've configured RetroArch, click "Apply" to save the changes.
Step 4: Add Games to RetroArch on SNES Classic
Now that RetroArch is installed and configured, you can add games to play on your SNES Classic:
- In hakchi2 or hakchi2 CE, click on the "Add Games" button to import ROMs into the program.
- Select the games you want to add and click "OK" to import them.
- Arrange the games in the desired order by dragging and dropping them in the hakchi2 or hakchi2 CE interface.
- When you're ready, click "Synchronize" to transfer the games to your SNES Classic.
- Once the synchronization process is complete, safely disconnect your SNES Classic from your computer.
Step 5: Enjoy Retro Gaming on your SNES Classic
With RetroArch installed, configured, and games added, you're now ready to enjoy retro gaming on your SNES Classic. Plug it into your TV, power it on, and have fun!
How To Install RetroArch on FireStick TV?
By using RetroArch you can start playing various console games on your Amazon Fire TV Stick. Here's a step-by-step guide on how to install RetroArch on your Fire TV Stick.
Step 1: Enable Apps from Unknown Sources
Before you can install RetroArch, you need to enable the option to install apps from unknown sources on your Fire TV Stick. Here's how:
- On the home screen of your Fire TV Stick, navigate to "Settings."
- Select "My Fire TV" or "Device."
- Choose "Developer Options."
- Toggle on the "Apps from Unknown Sources" option.
- When prompted, confirm your selection.
Step 2: Install Downloader App
Next, you need to install the Downloader app on your Fire TV Stick. This app allows you to download and install applications from the internet. Here's what you need to do:
- On the home screen of your Fire TV Stick, use the search function to search for "Downloader."
- Select the "Downloader" app from the search results.
- Click on "Get" or "Download" to install the Downloader app.
- Once the installation is complete, return to the home screen.
Step 3: Download and Install RetroArch
Now that you have the Downloader app installed, you can use it to download and install RetroArch on your Fire TV Stick:
- Launch the Downloader app from the home screen of your Fire TV Stick.
- Go to the RetroArch emulator page on our website and download the APK for Fire TV Stick.
- Click on the "Go" button to start the download.
- Once the download is complete, the Downloader app will prompt you to install the APK.
- Select "Install" to begin the installation process.
- After the installation is finished, you can choose to delete the APK file to free up space.
Step 4: Launch RetroArch on FireStick TV
With RetroArch installed, you can now launch it and start using it to play retro games on your Fire TV Stick:
- Return to the home screen of your Fire TV Stick.
- Navigate to "Your Apps & Channels."
- Scroll down and find RetroArch in the list of installed apps.
- Select RetroArch to launch the application.
How To Install RetroArch on PlayStation Portable (PSP)?
Here's a step-by-step guide on how to install RetroArch on your PSP.
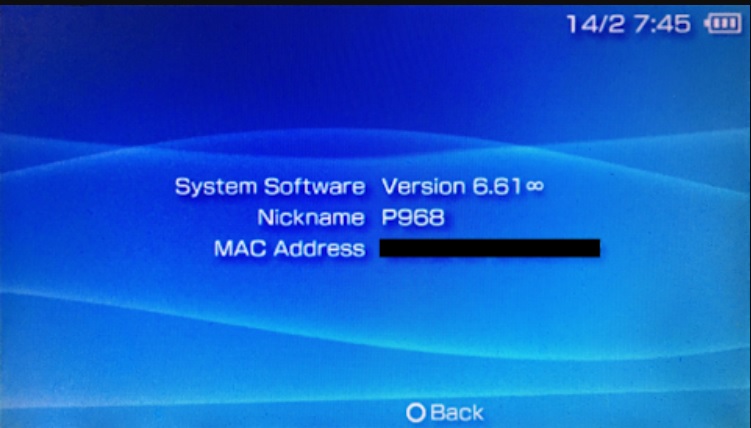
Step 1: Ensure Compatibility of PSP with RetroArch
Before installing RetroArch on your PSP, you need to ensure that your PSP is compatible with custom firmware. RetroArch requires a PSP running custom firmware to work. Check your PSP model and firmware version to confirm compatibility.
Step 2: Install Custom Firmware on PSP
If your PSP is not running custom firmware, you need to install it to proceed with RetroArch installation. Here's a general outline of the process:
- Research and find a reputable source for custom firmware for your specific PSP model and firmware version.

- Download the custom firmware files and follow the instructions provided by the custom firmware developer to install it on your PSP.
- Ensure that the custom firmware installation is successful before proceeding.
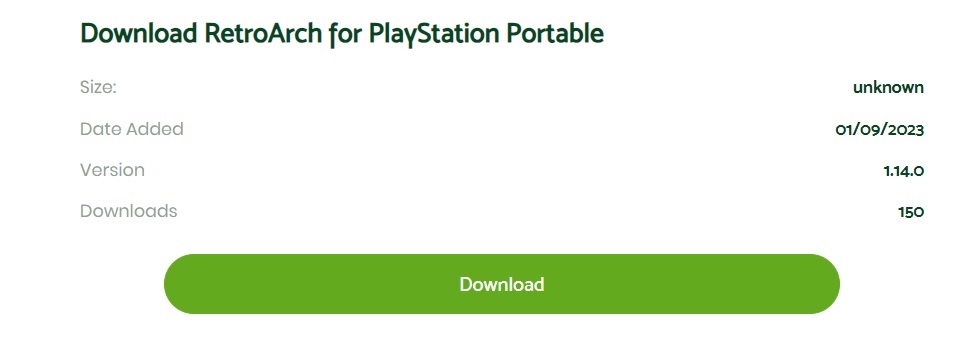
Step 3: Download RetroArch for PlayStation Portable
Once you have custom firmware installed on your PSP, you can proceed with downloading RetroArch:
- Look for the PSP version of RetroArch and download the appropriate package for your PSP model.
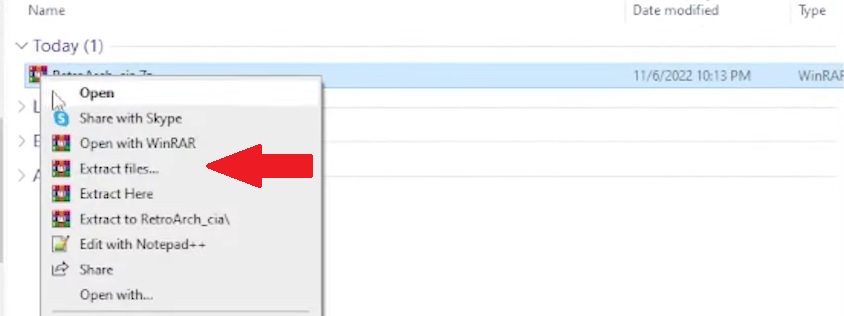
- Extract the downloaded RetroArch package to your computer.
Step 4: Transfer RetroArch to PSP
Now that you have RetroArch downloaded, you need to transfer it to your PSP:
- Connect your PSP to your computer using a USB cable.
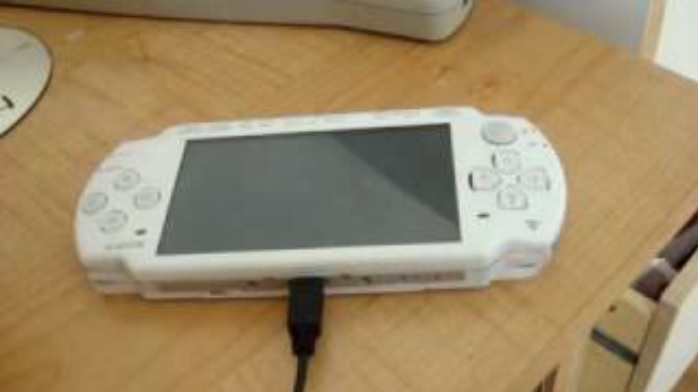
- On your PSP, navigate to "Settings" > "USB Connection" to enable USB mode.

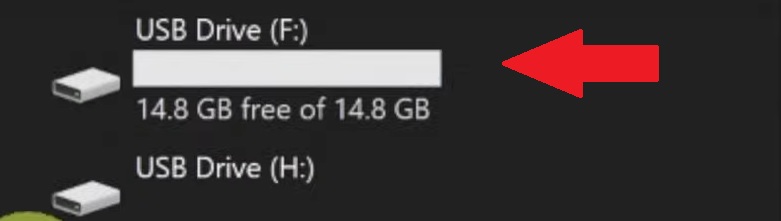
- On your computer, access the PSP's memory card or internal storage.
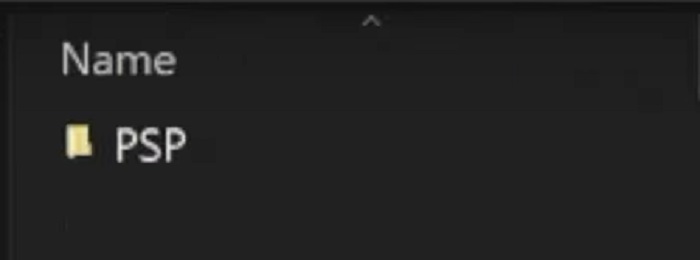
- Create a folder named "PSP" (if not already present) and open it.
- Create a folder named "GAME" (if not already present) and open it.
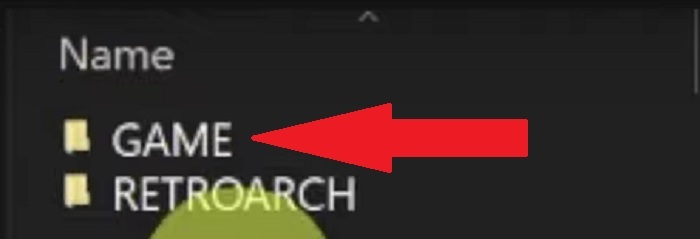
- Inside the "GAME" folder, create another folder named "RetroArch" (or the name of your choice).

- Copy the extracted RetroArch files from your computer to the "RetroArch" folder on your PSP.
- Safely disconnect your PSP from your computer.
Step 5: Launch RetroArch on PSP
With RetroArch transferred to your PSP, you can now launch it and start using it to play retro games:
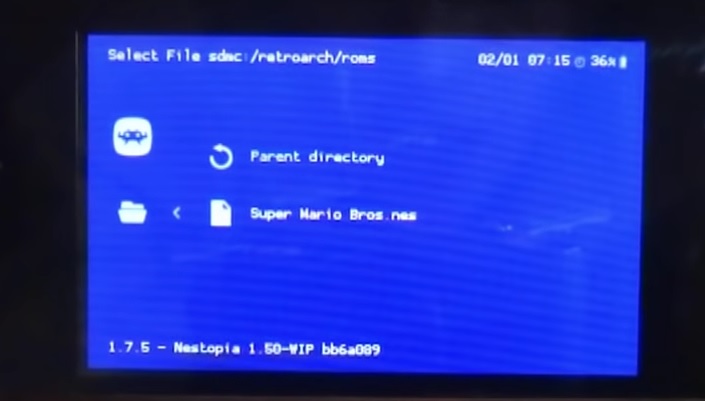
- On your PSP, navigate to "Game" > "Memory Stick" or "Storage Media."
- Select the RetroArch folder and press "X" to launch RetroArch.
Step 6: Configure RetroArch and Add Games
Once you launch RetroArch, you may need to configure it and add games to start playing:
- Follow the on-screen prompts to configure the initial settings of RetroArch.
- Connect a compatible PSP controller or use the PSP's built-in controls to navigate and play games.
How To Install Retroarch on PlayStation 3 (PS3)?
Installing RetroArch on PlayStation 3 is a bit of complicated process but if you follow our guide precisely you will be able to play many retro games on your PS3 console in a matter of minutes. There are 7 necessary steps to install RetroArch on PS3:
Step 1: Ensure Compatibility of your PlayStation 3
Before installing RetroArch on your PS3, you need to ensure that your PS3 is compatible with custom firmware. RetroArch requires a PS3 running custom firmware to work. Check your PS3 model and firmware version to confirm compatibility.
Step 2: Install Custom Firmware
If your PS3 is not running custom firmware, you need to install it to proceed with RetroArch installation. Here's a general outline of the process:
- Research and find a reputable source for custom firmware for your specific PS3 model and firmware version.
- Download the custom firmware files and follow the instructions provided by the custom firmware developer to install it on your PS3.
- Ensure that the custom firmware installation is successful before proceeding.
Step 3: Download RetroArch for PS3
Once you have custom firmware installed on your PS3, you can proceed with downloading RetroArch:
- Look for the PS3 version of RetroArch and download the appropriate package for your PS3 model.
- Extract the downloaded RetroArch package to your computer.
Step 4: Transfer RetroArch to PS3
Now that you have RetroArch downloaded, you need to transfer it to your PS3:
- Create a new folder on a USB storage device and name it "PS3" (in uppercase).
- Inside the "PS3" folder, create another folder named "GAMES" (in uppercase).
- Copy the extracted RetroArch files and folders from your computer to the "GAMES" folder on your USB storage device.
- Safely remove the USB storage device from your computer.
Step 5: Install RetroArch on PS3
With RetroArch transferred to your USB storage device, you can now install it on your PS3:
- Connect the USB storage device to your PS3's USB port.
- On your PS3, navigate to the "Game" tab in the XMB (XrossMediaBar) menu.
- Scroll down and select "Install Package Files."
- Select the RetroArch package file from the list of available packages on the USB storage device.
- Follow the on-screen instructions to complete the installation process.
- Once the installation is finished, RetroArch will appear as an application in the "Game" tab of the XMB menu.
Step 6: Launch RetroArch on PS3
With RetroArch installed on your PS3, you can now launch it and start using it to play retro games:
- Navigate to the "Game" tab in the XMB menu.
- Scroll down and select RetroArch.
- Press the "X" button to launch RetroArch.
How to Install RetroArch on PlayStation 4 (PS4)?
If you're a retro gaming enthusiast, you'll be excited to know that you can install RetroArch on your PlayStation 4 (PS4) and relive the nostalgia of classic games. Follow this step-by-step guide to install RetroArch on your PS4 and start enjoying your favorite retro titles.
Step 1: Prepare Your PS4
Before you can install RetroArch, make sure your PS4 meets the following requirements:
- A PlayStation 4 console (any model).
- A stable internet connection.
- A compatible USB storage device (formatted to FAT32 or exFAT).
- A USB game controller for the best gaming experience.
Step 2: Enable Homebrew
Enabling homebrew on your PS4 will allow you to install and run RetroArch. Here's how to do it:
- Power on your PS4 and make sure it's connected to the internet.
- Open the PS4 web browser and visit the official website of the homebrew exploit you want to use (e.g., "ps4exploits.darksoftware.xyz").
- Follow the instructions provided on the website to run the homebrew exploit on your PS4.
- Once the exploit is running, you'll have access to the PS4's homebrew environment.
Step 3: Download RetroArch for PS4
Now that you have access to the homebrew environment, it's time to download RetroArch:
- Launch the web browser on your PS4 within the homebrew environment.
- Visit the official RetroArch website or a trusted source for PS4 homebrew.
- Download the RetroArch package for the PS4.
Step 4: Install RetroArch on PS4
With the RetroArch package downloaded, it's time to install it on your PS4:
- Connect your USB storage device to your computer and create a new folder called "PS4" in the root directory.
- Inside the "PS4" folder, create another folder called "HOME" (in uppercase).
- Copy the RetroArch package file (e.g., "retroarch.pkg") to the "HOME" folder on your USB storage device.
- Safely eject the USB storage device from your computer.
- Connect the USB storage device to your PS4.
- In the PS4 homebrew environment, navigate to the "Package Installer" and select the RetroArch package file.
- Follow the on-screen instructions to install RetroArch on your PS4.
Step 5: Launch RetroArch on PS4
Once RetroArch is successfully installed, you can launch it and start playing retro games:
- In the PS4 homebrew environment, navigate to the RetroArch application.
- Select RetroArch and press the "X" button to launch it.
How to Install RetroArch on Nvidia Shield TV?
Introduction
Here's a step-by-step guide on how to install RetroArch on your Nvidia Shield TV and start enjoying your favorite classic games.
Step 1: Enable Unknown Sources on Nvidia Shield TV
Before you can install RetroArch, you need to enable installation from unknown sources on your Nvidia Shield TV:
- On your Nvidia Shield TV, go to "Settings."
- Scroll down and select "Device Preferences."
- Choose "Security & restrictions."
- Select "Unknown sources" and toggle the switch to enable it.
- Confirm the action in the pop-up dialog.
Step 2: Download RetroArch Android APK
Now it's time to download the RetroArch APK file:
- Open a web browser on your Nvidia Shield TV.
- Visit our Retroarch emulator download page.
- Download the RetroArch Android APK file to your Nvidia Shield TV.
Step 3: Install RetroArch on Nvidia Shield TV
With the RetroArch APK file downloaded, you can now proceed with the installation:
- Locate the RetroArch APK file on your Nvidia Shield TV.
- Click on the file to initiate the installation process.
- Follow the on-screen instructions to install RetroArch on your Nvidia Shield TV.
Step 4: Launch RetroArch on Nvidia Shield
Once RetroArch is installed, you can launch it and start using it to play retro games:
- Go to the home screen on your Nvidia Shield TV.
- Scroll through the apps and locate the RetroArch icon.
- Select RetroArch to launch the application.
How to Install RetroArch on Nintendo Wii U
If you're a Nintendo Wii U owner and a retro gaming enthusiast, you'll be thrilled to know that you can install RetroArch on your console and enjoy a wide range of classic games. In this guide, we'll walk you through the process of installing RetroArch on your Nintendo Wii U, opening up a world of retro gaming possibilities.
Step 1: Prepare Your Nintendo Wii U
Before you begin the installation process, make sure you have the following:
- A Nintendo Wii U console.
- A stable internet connection.
- A compatible SD card (formatted to FAT32).
- A USB storage device (optional, but recommended for storing game ROMs).
Step 2: Install Homebrew Channel
In order to install RetroArch, you'll need to install the Homebrew Channel on your Nintendo Wii U:
- On your computer, download the Homebrew Launcher for Wii U.
- Extract the downloaded files to the root of your SD card.
- Insert the SD card into your Nintendo Wii U.
- Power on your Wii U and launch the browser.
- Visit the following URL: "http://loadiine.ovh".
- Follow the instructions provided to access the Homebrew Launcher.
- Once in the Homebrew Launcher, select "Homebrew App Store" to download and install the Homebrew Channel.
Step 3: Download RetroArch and Cores
Now that you have the Homebrew Channel installed, you can proceed with downloading RetroArch:
- Launch the Homebrew Channel on your Wii U.
- Select the "Homebrew App Store" to access the available applications.
- Search for "RetroArch" and download the RetroArch application.
- Download the cores for the consoles you want to emulate (e.g., NES, SNES, Sega Genesis).
Step 4: Transfer RetroArch and Cores to SD Card
With RetroArch and the cores downloaded, it's time to transfer them to your SD card:
- Connect your SD card to your computer.
- Create a folder named "apps" on the root of your SD card.
- Inside the "apps" folder, create another folder named "retroarch" (all lowercase).
- Copy the RetroArch application file (e.g., "retroarch.elf") to the "retroarch" folder.
- Create a folder named "cores" (all lowercase) inside the "retroarch" folder.
- Copy the downloaded core files (e.g., "snes9x_libretro.rpx", "genesis_plus_gx_libretro.rpx") to the "cores" folder.
- Eject the SD card from your computer and insert it into your Wii U.
Step 5: Launch RetroArch and Play Games
Now it's time to launch RetroArch and start playing retro games on your Nintendo Wii U:
- Launch the Homebrew Channel on your Wii U.
- Select RetroArch from the list of installed applications.
- Choose the desired core for the console you want to emulate.
- Select a game ROM from your SD card or USB storage device.
- Enjoy playing retro games on your Nintendo Wii U!
By following the steps outlined in this guide, you can successfully install RetroArch on your Nintendo Wii U and relive the nostalgia of classic games. Embrace the world of retro gaming on your Wii U and have fun exploring a vast library of games from various consoles!
How to Install RetroArch on Linux
If you're a retro gaming enthusiast using Linux as your operating system, you'll be delighted to know that you can install RetroArch and relive the nostalgia of classic games. This guide will walk you through the process of installing RetroArch on your Linux machine, allowing you to enjoy a vast library of retro titles.
Step 1: Update System Packages
Before installing RetroArch, it's recommended to update your system packages to ensure you have the latest software:
$ sudo apt update
$ sudo apt upgrade
Step 2: Install RetroArch on Linux
Now it's time to install RetroArch on your Linux system:
$ sudo apt install retroarchStep 3: Install Libretro Cores
RetroArch uses Libretro cores to emulate different gaming platforms. To install Libretro cores:
$ sudo apt install retroarch-coresStep 4: Configure RetroArch
Before you start gaming, it's essential to configure RetroArch:
- Launch RetroArch from the application menu or by typing "retroarch" in the terminal.
- Navigate to "Settings" and customize the input, display, audio, and other options according to your preferences.
- For optimal performance, consider tweaking the video settings, such as resolution and shaders.
Step 5: Add Games to RetroArch
To play games on RetroArch, you'll need to add ROMs (game files) to your system:
- Download ROMs for the desired gaming platforms from RomsPedia.
- Create a folder on your system to store the ROMs (e.g., "~/retroarch/roms").
- Copy the ROM files to the designated folder.
Step 6: Launch and Play Games
With RetroArch configured and ROMs added, you're ready to launch and play games:
- Launch RetroArch from the application menu or by typing "retroarch" in the terminal.
- Navigate to the "Load Content" option and browse to the folder where your ROMs are stored.
- Select the desired ROM file and choose the appropriate Libretro core to emulate the corresponding gaming platform.
- Enjoy playing retro games on your Linux machine!
How to Install RetroArch on Raspberry Pi
If you're a retro gaming enthusiast and own a Raspberry Pi, you can transform it into a powerful retro gaming console using RetroArch. RetroArch is a popular open-source emulator frontend that provides a unified interface for running games from various classic gaming platforms on your Raspberry Pi.
In this guide, we will walk you through the step-by-step process of installing RetroArch on your Raspberry Pi. With RetroArch installed, you'll be able to enjoy a vast library of classic games, spanning consoles like the NES, SNES, Sega Genesis, PlayStation, and more.
Whether you're seeking a nostalgic gaming experience or want to introduce classic games to a new generation, RetroArch on Raspberry Pi is the perfect solution. So, let's dive in and learn how to set it up!
Step 1: Prepare Your Raspberry Pi
Before you begin, ensure you have the following:
- A Raspberry Pi board (any model should work, but a Raspberry Pi 3 or newer is recommended for optimal performance).
- A microSD card (8GB or larger) with an operating system installed (such as Raspbian or RetroPie).
- A USB game controller or keyboard for navigation.
- A stable internet connection.
Step 2: Update System Packages
Start by updating the system packages on your Raspberry Pi:
$ sudo apt update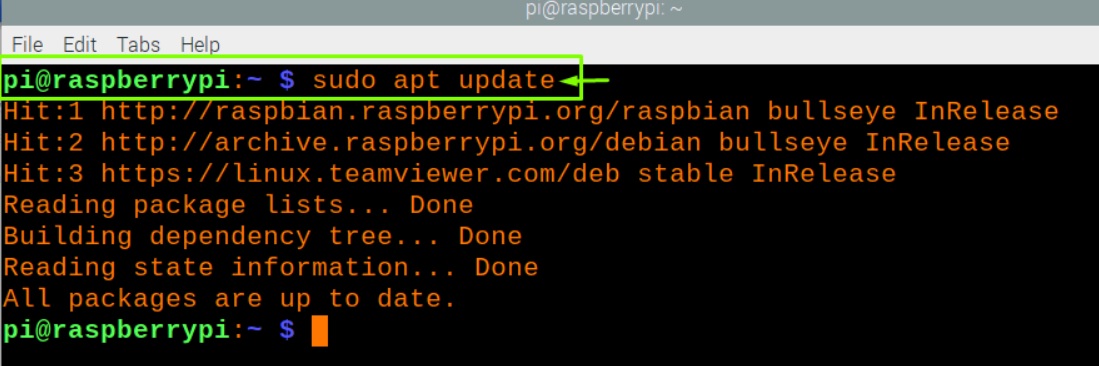 $ sudo apt upgrade
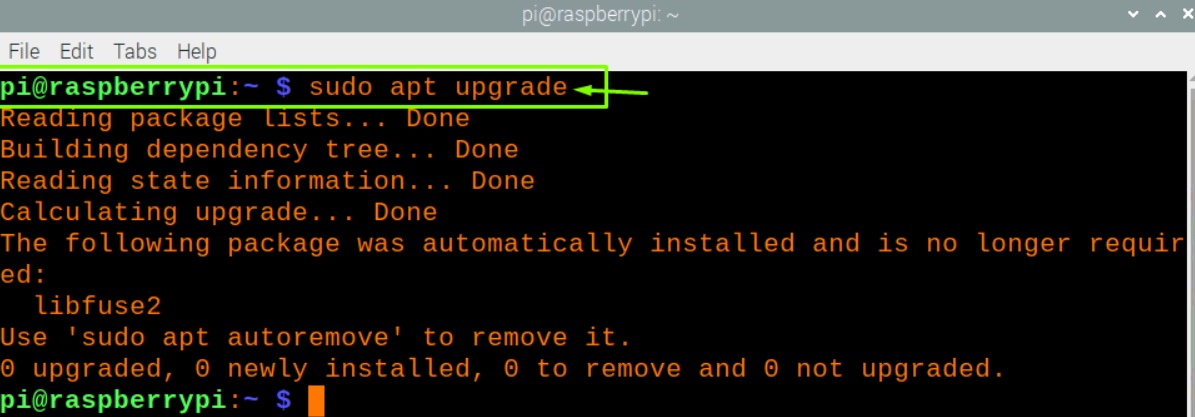
Step 3: Install RetroArch on Raspberry Pi
Now it's time to install RetroArch on your Raspberry Pi:
$ sudo apt install retroarch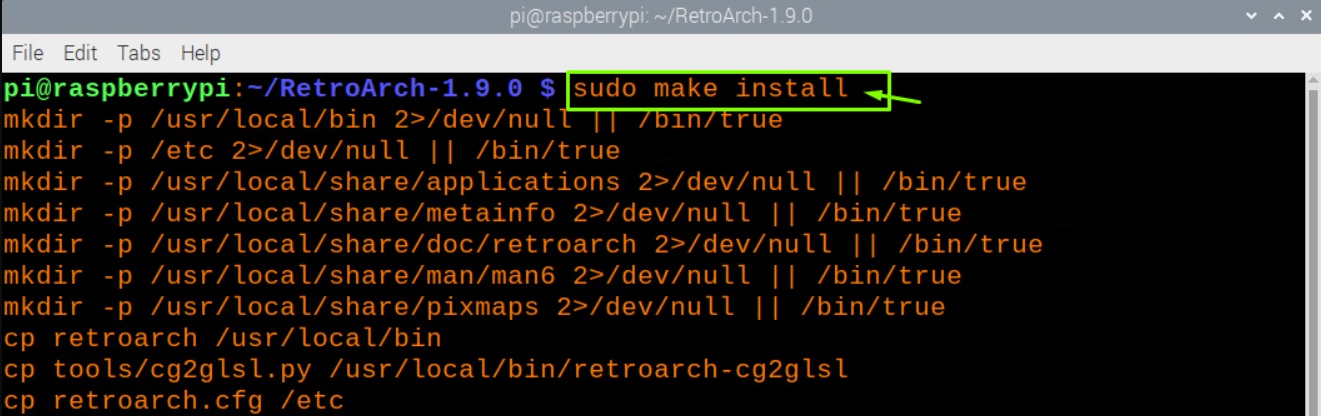
Step 4: Configure RetroArch on Raspberry Pi
Before you start gaming, it's important to configure RetroArch:
- Connect your Raspberry Pi to a display (such as a TV or monitor) and boot it up.
- Launch RetroArch from the application menu or by typing "retroarch" in the terminal.
- Navigate to the "Settings" menu and customize the input, display, audio, and other options according to your preferences.
- For optimal performance, consider tweaking the video settings, such as resolution and shaders.
Step 5: Add Retro Games To Raspberry Pi
To play games on RetroArch, you'll need to add ROMs (game files) to your Raspberry Pi:
- Download ROMs from RomsPedia
- Create a folder on your Raspberry Pi to store the ROMs (e.g., "/home/pi/retroarch/roms").
- Copy the ROM files to the designated folder using a USB drive or over the network.
Have more and better information? Contribute by expanding the content of this page.